There is nothing quite as comforting as a perfectly executed chicken enchiladas recipe, but too often, home cooks settle for soggy, mushy results. To achieve the restaurant-quality plate seen in our visuals, we focus on structural integrity and the interplay of textures.
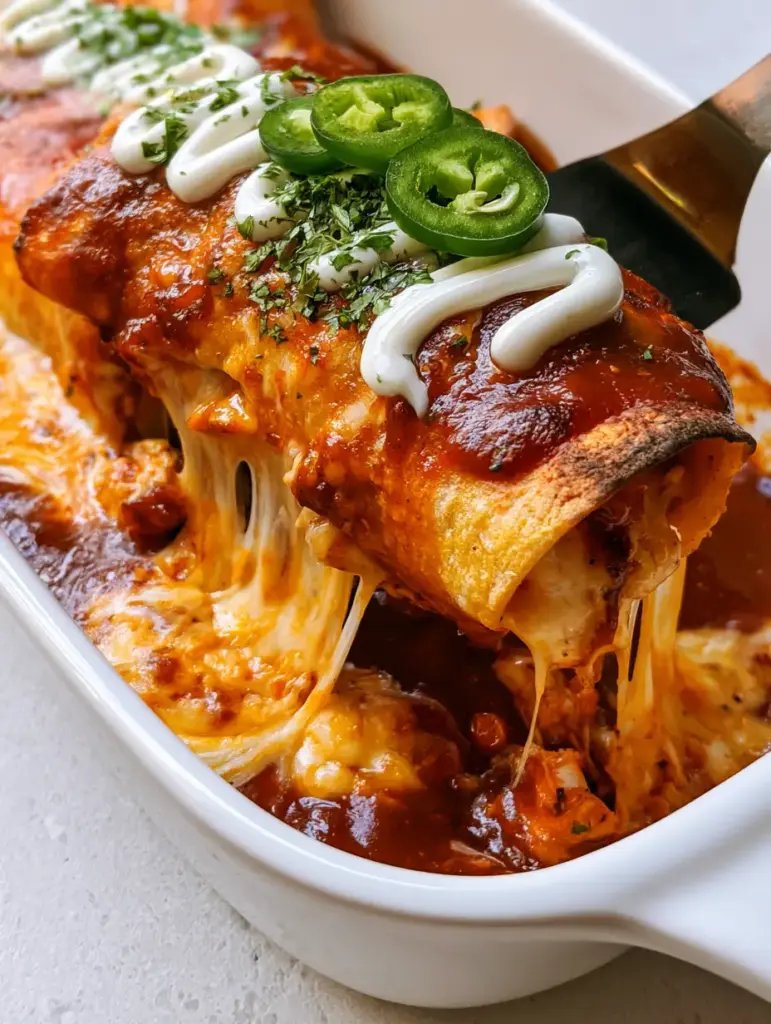
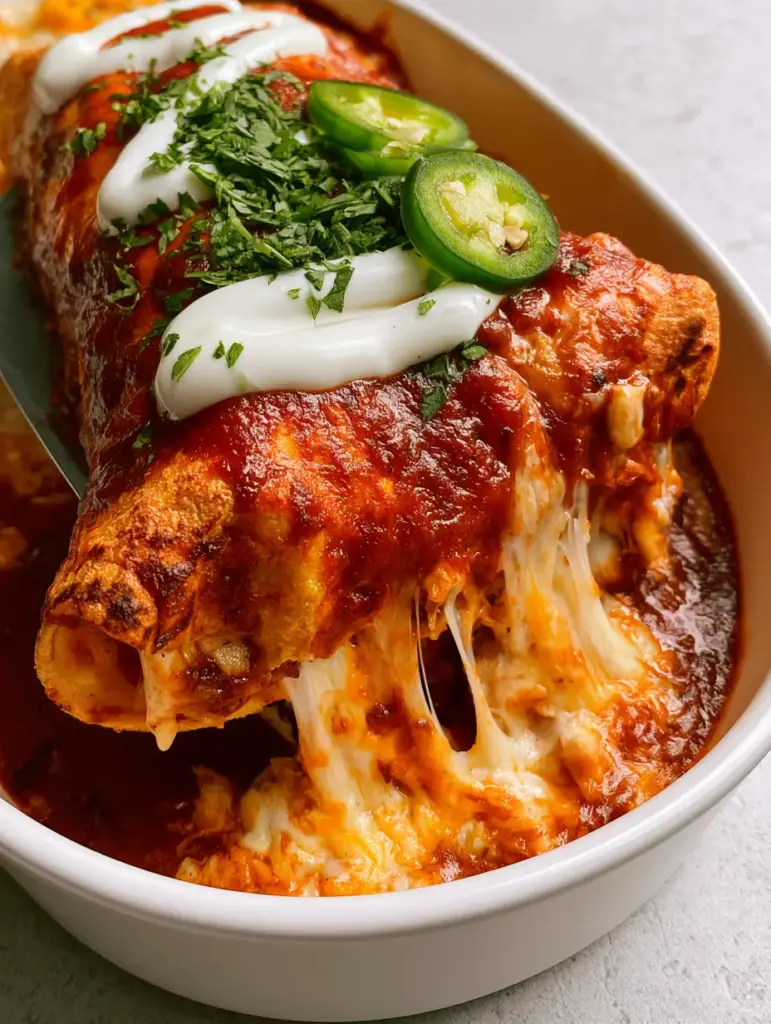
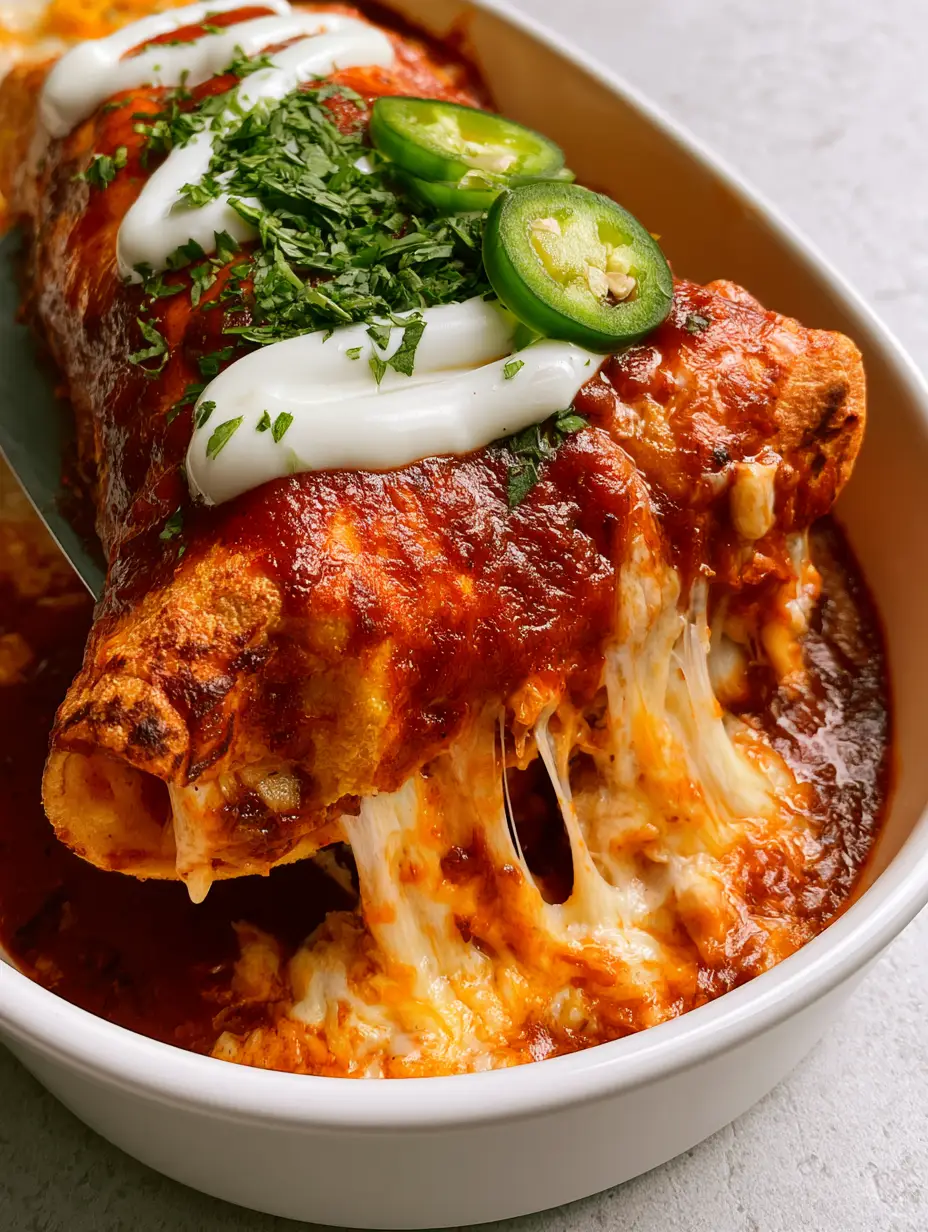
Imagine lifting a single enchilada from a ceramic dish, watching long, thick strings of bubbly Mexican-blend cheese stretch through the air. The corn tortilla remains firm, its edges golden-brown and toasted, providing a necessary crunch against the tender, shredded roasted chicken breast inside.
This recipe isn’t just about throwing ingredients in a pan; it’s about the culinary science of preventing a “mushy” tortilla while ensuring every bite is saturated with a thick, glossy, deep-crimson red sauce. Finished with a sharp zigzag of lime crema and the heat of fresh jalapenos, this dish is a sensory masterpiece.
What Defines This High-Quality Chicken Enchiladas Recipe?
- Structural Integrity: By flash-frying the corn tortillas, we create a barrier that prevents the red sauce from making the breading soggy.
- Roasted Depth: We use shredded roasted chicken breast rather than boiled meat, ensuring a concentrated savory flavor in every bite.
- Visual Precision: The contrast between the deep-crimson sauce, the vibrant green cilantro flakes, and the bright white lime crema creates a stunning presentation.
- The Perfect Melt: A specific 50/50 blend of sharp cheddar and creamy Monterey Jack achieves that iconic “cheese pull” seen in professional food photography.
The Essential Elements for Your Enchilada Masterpiece
Firm Corn Tortillas: You need high-quality yellow or white corn tortillas that can withstand a quick toast in the pan without crumbling. These provide the essential “toasted edge” aesthetic and a distinct earthy corn flavor.
Roasted Chicken Breast: We season and roast the chicken specifically for this dish to keep the moisture locked in. This provides a much better texture than using pre-packaged rotisserie scraps which can sometimes be too salty.
Glossy Red Enchilada Sauce: A thick, crimson sauce is the heart of this chicken enchiladas recipe. It should have enough body to coat the back of a spoon and leave a glisten under the light.
Mexican-Blend Cheese: We use 2 cups (225g) of shredded Monterey Jack for creaminess and 2 cups (225g) of Sharp Cheddar for that bold, golden color and punchy flavor. Pre-shredded cheese often contains anti-clumping agents, so grate your own for the best melt.
Lime Crema Garnish: A simple mix of sour cream and fresh lime juice provides a bright, acidic counterpoint to the heavy, savory sauce. It must be thin enough to drizzle in a neat zigzag pattern.
Foundational Aromatics: You will need 2 tbsp (30ml) of neutral oil for the tortillas, along with sea salt, cracked black pepper, and garlic powder to season the chicken during the roasting process.
Specialty Tools for Culinary Success
To achieve the “Extreme Macro” look of our featured enchilada, you will need a 9×13 inch (23x33cm) white ceramic baking dish. The white ceramic provides a neutral, clean background that makes the deep-crimson sauce pop visually.
A heavy-bottomed cast iron skillet is recommended for toasting the corn tortillas. The heat retention of cast iron ensures the edges get that specific golden-brown char without drying out the entire tortilla.
Finally, a precision squeeze bottle is the “pro secret” for achieving the neat zigzag drizzle of crema. Trying to do this with a spoon often results in large clumps rather than the professional lines seen in our visual blueprint.
Prepping the Perfect Roasted Chicken Base
Start by preheating your oven to 400°F (200°C). Rub 1.5 lbs (680g) of boneless, skinless chicken breasts with 1 tbsp (15ml) of oil and a generous pinch of salt and pepper.
Roast the chicken for 20-25 minutes until the internal temperature reaches 165°F (74°C). Allow the meat to rest for at least 10 minutes before shredding; this ensures the juices redistribute, keeping the filling of your chicken enchiladas recipe moist.
Once rested, use two forks to pull the meat into long, thin shreds. Toss the shredded chicken with 1/2 cup (120ml) of the red enchilada sauce to ensure the interior of the enchilada is just as flavorful as the exterior.
The Secret to Toasted, Non-Mushy Corn Tortillas
Heat 1 tbsp (15ml) of oil in your skillet over medium-high heat. Take one corn tortilla and press it into the hot oil for only 5-10 seconds per side.
You are looking for the edges to just begin to curl and turn a light golden-brown. This “searing” process creates a hydrophobic layer on the tortilla, which is the only way to prevent a mushy texture once the sauce is applied.
Place the toasted tortillas on a paper towel-lined plate to drain any excess oil. They should feel flexible but have a noticeably firmer “snap” at the edges than a raw tortilla.
Rolling and Saucing Like a Pro
Pour about 1/2 cup (120ml) of the glossy red sauce into the bottom of your ceramic baking dish. This prevents the bottom of the tortillas from sticking and adds an extra layer of flavor.
Place a generous portion of the shredded chicken and a sprinkle of the dual-cheese blend in the center of a toasted tortilla. Roll it tightly and place it seam-side down in the dish.
Once the dish is full, pour the remaining 2 cups (480ml) of sauce over the center of the enchiladas. Leave the very tips of the toasted edges exposed to maintain that visual contrast and crispy texture.
Achieving the Perfect Cheese Melt and Garnish
Spread the remaining cheese blend across the top, focusing on the center. Bake at 375°F (190°C) for 15-20 minutes, or until you see the cheese becoming bubbly and starting to release small oils.
Remove from the oven and let it sit for 5 minutes. This is critical for “setting” the sauce so it remains thick and glossy rather than running all over the plate.
Apply the lime crema in a swift, side-to-side zigzag motion. Finish with a shower of finely chopped fresh cilantro and exactly three thin slices of fresh green jalapeno per serving for that professional, authentic look.
Expert Tips for Your Best Enchiladas Yet
- Don’t Over-Sauce: While we want a “thick glossy” look, drowning the dish will inevitably lead to sogginess. Follow the measurements strictly.
- The Temperature Matters: Ensure your sauce is at room temperature or slightly warm when pouring. Cold sauce can shock the tortillas and lead to tearing.
- Freshness is Key: Only slice the jalapenos and chop the cilantro seconds before serving to ensure they look vibrant green and “alive” on the plate.
- Cheese Quality: If you use Monterey Jack, ensure it is the “high moisture” variety for those long, dramatic cheese strings.
How to Store and Reheat Leftovers
Store any remaining portions in an airtight container in the refrigerator for up to 3 days. Because we toasted the tortillas, they will hold up significantly better during reheating than standard recipes.
To reheat, avoid the microwave if possible, as it will make the tortillas rubbery. Instead, place them in a small oven-safe dish at 350°F (175°C) until the cheese bubbles again.
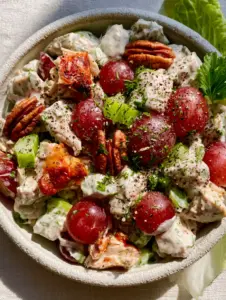
If you find yourself with extra roasted chicken, it is a fantastic base for a savory chicken salad the next day. You can also freeze the unbaked assembled enchiladas for up to 2 months.
The Best Side Dishes to Serve With Enchiladas
To balance the richness of the cheese and red sauce, a light salad is always a great choice. Consider a crunchy textured salad or even a protein-packed quinoa side to round out the meal.
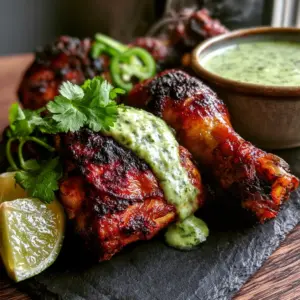
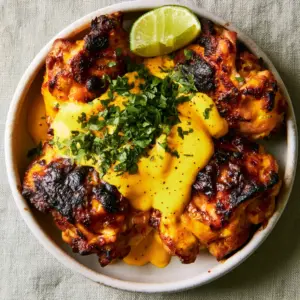
If you are hosting a larger gathering, pairing these with other global chicken favorites like Peruvian-style grilled chicken or fragrant saffron chicken can create a stunning fusion buffet.
For a tropical twist, a side of coconut lime rice—similar to what you’d find in a coconut chicken bowl—complements the lime crema perfectly.
Frequently Asked Questions
Yes, you can assemble them up to 24 hours in advance. However, do not add the sauce until you are ready to bake to ensure the tortillas maintain their firm, toasted texture.
While you can, flour tortillas tend to become much softer and more doughy when baked in sauce. For the authentic toasted edges and firm texture shown in this recipe, corn tortillas are essential.
A glossy sauce comes from a proper roux-base or the addition of a small amount of fat. Ensuring the sauce is thickened properly and not over-baked will maintain that beautiful glisten.
The secret is ‘flash-frying’ or toasting them in a small amount of oil for 5-10 seconds per side before filling. This creates a barrier that prevents the sauce from soaking in and making the tortilla mushy.
A 50/50 blend of Monterey Jack and Sharp Cheddar is best. Monterey Jack provides the elasticity for the ‘pull,’ while the Cheddar provides the color and sharp flavor profile.
The Ultimate Chicken Enchiladas Recipe
Chicken Enchiladas Recipe: The Secret to Crispy Toasted Edges and Glossy Red Sauce
Ingredients
Equipment
Method
- Preheat oven to 400°F (200°C). Season chicken with oil, salt, and pepper. Roast for 20-25 mins until internal temp is 165°F (74°C).
- Rest meat for 10 mins, then shred with forks and toss with 1/2 cup of enchilada sauce.
- Heat 1 tbsp oil in a skillet. Fry each tortilla for 5-10 seconds per side until edges are golden-brown and toasted.
- Fill tortillas with chicken and cheese. Roll tightly and place in a ceramic dish with a layer of sauce at the bottom.
- Top with remaining sauce and cheese. Bake at 375°F (190°C) for 15-20 minutes until cheese is bubbly.
- Drizzle with lime crema in a zigzag, sprinkle cilantro, and add 3 jalapeno slices per serving.
Notes
Don't skip toasting the tortillas; it is the only way to prevent sogginess.
Closing & Call to Action
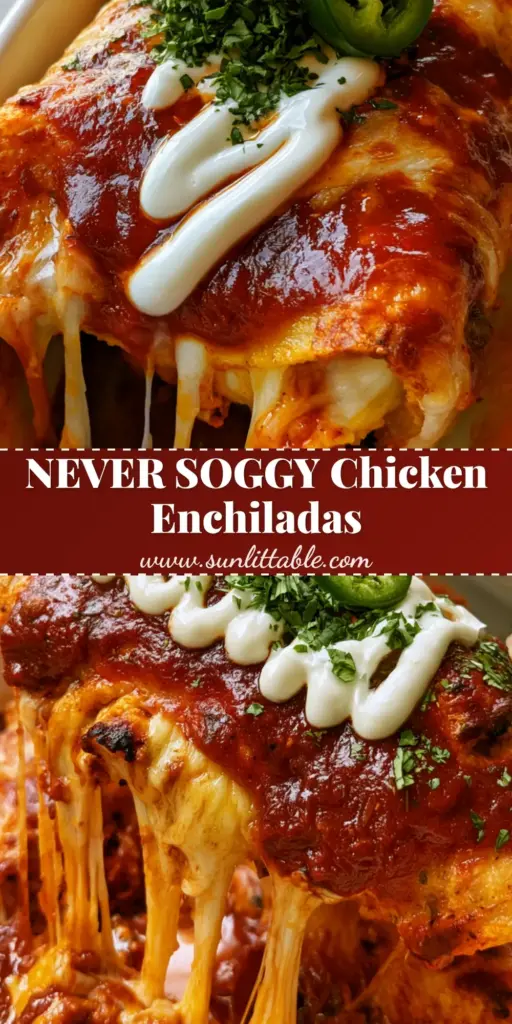
Mastering this chicken enchiladas recipe is a rite of passage for any home cook who loves bold, Mexican-inspired flavors. The combination of the toasted corn tortilla, the succulent roasted chicken, and that glossy crimson sauce is simply unbeatable.
If you enjoyed the technical tips in this guide, please leave a comment below and let us know how your toasted edges turned out! Don’t forget to follow us on Pinterest for more visually stunning recipe inspiration.