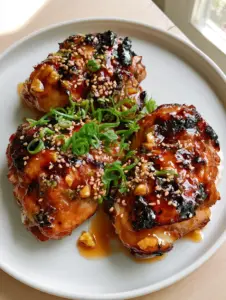
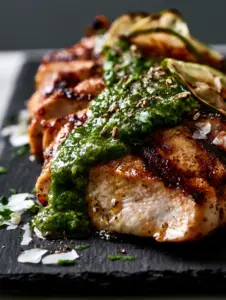
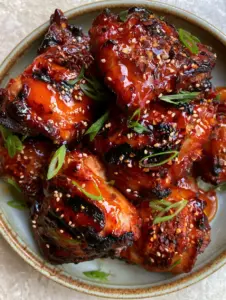
There is a specific kind of magic that happens when high-heat flames meet a sugar-rich glaze. This Sweet chili grilled chicken is the embodiment of that culinary alchemy, featuring chicken thighs that boast a mirror-like glossy glow and deep, caramelized charred edges. If you have been searching for a dish that looks like a professional food photograph but tastes like home-cooked comfort, this is the definitive recipe for your rotation.
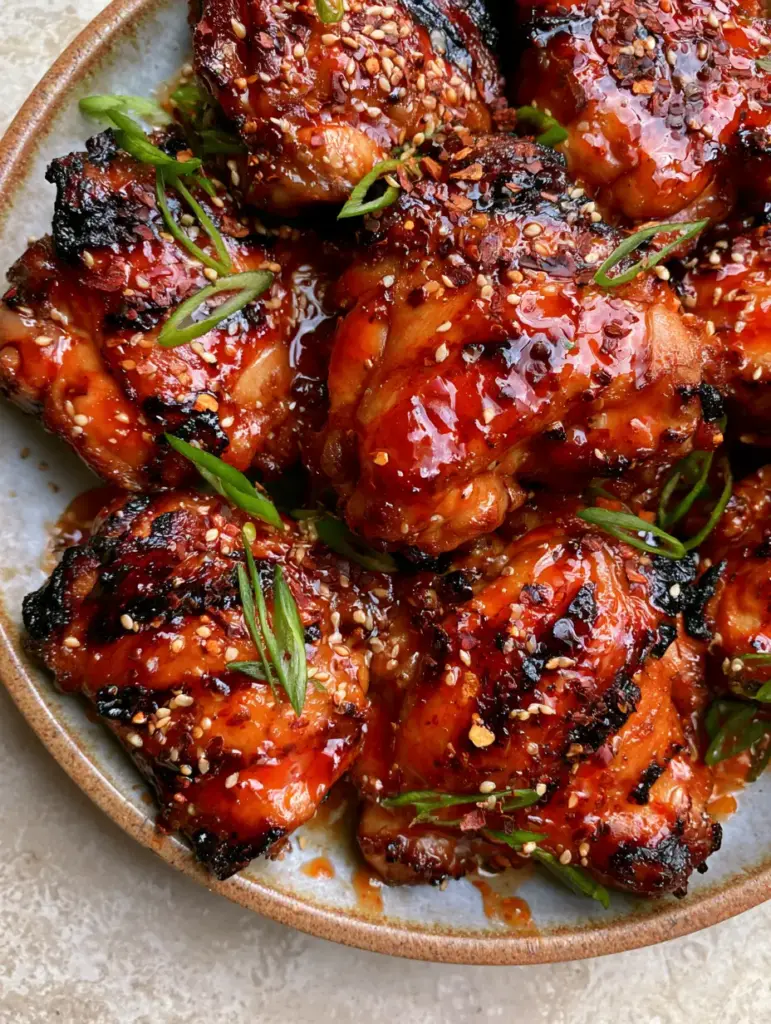
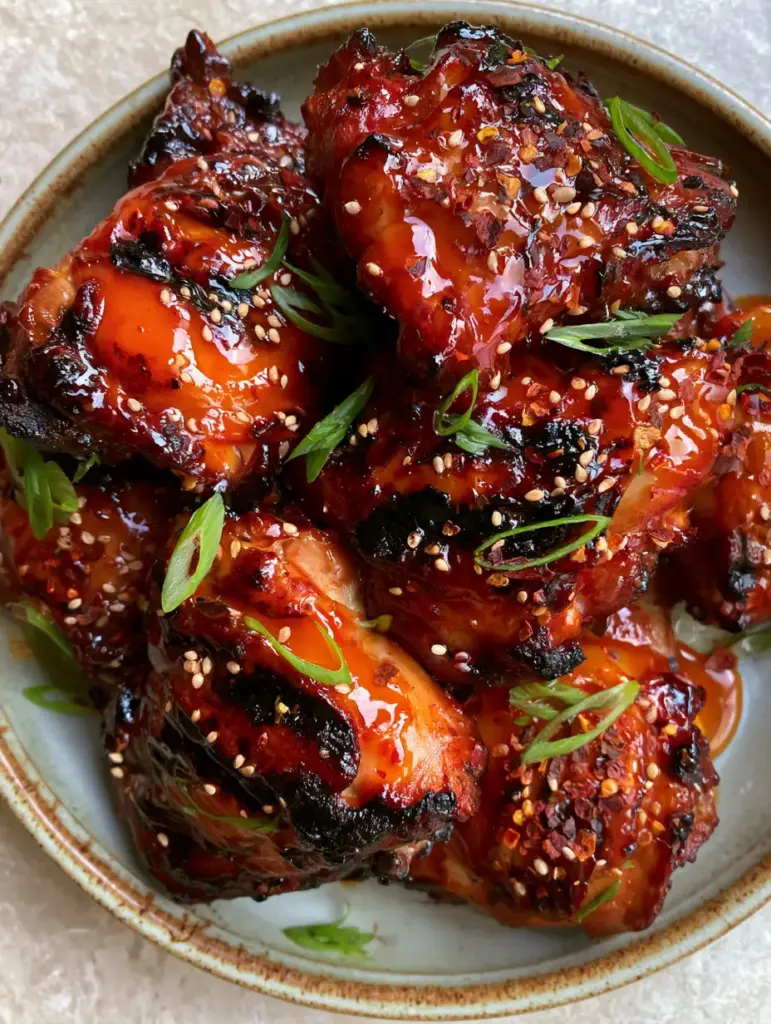
The visual appeal of this dish lies in its vibrant red-orange hues and the contrast between the dark grill marks and the bright green bias-cut scallions. By following this guide, you will master the art of the multi-stage glaze application, ensuring your meat remains succulent while the exterior develops a thick, translucent viscosity that clings to every crevice. We aren’t just grilling chicken; we are building layers of flavor and texture that satisfy both the eyes and the palate.
Whether you are hosting a summer backyard cookout or looking for a weeknight dinner that feels like a splurge, this recipe delivers. The balance of heat from the dried red chili flakes and the nutty crunch of toasted white sesame seeds creates a sensory experience that rivals any high-end bistro. Let’s dive into the science and technique behind this succulent, flame-kissed masterpiece.
Why You Will Crave This Succulent Glazed Chicken
- Unmatched Texture: The combination of a high-viscosity glaze and high-heat grilling results in chicken that is crispy and charred on the outside while remaining incredibly juicy inside.
- Balanced Flavor Profile: A perfect harmony of fermented heat, honeyed sweetness, and the sharp bite of fresh scallions.
- Visual Showstopper: With its vibrant red-orange mirror finish and artisanal garnishes, this dish is designed to be the centerpiece of any table.
- Scientific Accuracy: We utilize the Maillard reaction to ensure deep savory notes that complement the sweet chili base.
The Foundation: Essential Ingredients for the Perfect Glaze
The heart of this Sweet chili grilled chicken is the glaze. To achieve that thick, glossy, and translucent red-orange appearance described in our visual blueprint, we need specific components that provide both flavor and structural viscosity.
Boneless Skinless Chicken Thighs: We use 2 lbs (907g) of thighs because their higher fat content compared to breasts ensures they stay succulent under the intense heat required for charring. The fat also helps the glaze emulsify as it renders slightly during the grilling process.
Sweet Chili Sauce: You will need 1 cup (240ml) of a high-quality Thai-style sweet chili sauce. This provides the base red-orange color and the foundational sweetness that caramelizes into those beautiful dark edges.
Honey or Agave: Adding 2 tbsp (30ml) of liquid sweetener increases the sugar concentration. This is the secret to achieving that “mirror-like” glossy glow that looks spectacular in photos and tastes even better.
Rice Vinegar: 1 tbsp (15ml) of rice vinegar cuts through the sugar. This acidity balances the palate and prevents the glaze from becoming cloyingly sweet, while also tenderizing the meat fibers slightly.
Foundational Seasonings: We include 1 tsp (6g) of kosher salt and 1/2 tsp (1g) of cracked black pepper. While “invisible” in the final photo, these are scientifically required to enhance the natural savory notes of the poultry.
Toasted White Sesame Seeds: 1 tbsp (9g) of these seeds provides the essential visual contrast and a nutty aromatic finish. We will toast them lightly to release their oils before garnishing.
Fresh Green Scallions: 3 large scallions, bias-cut into thin rounds. These provide the bright green highlights that pop against the deep red glaze, adding a fresh, oniony crunch.
Dried Red Chili Flakes: 1 tsp (2g) scattered over the top. This adds a secondary level of heat and a rustic, textured aesthetic to the final presentation.
Must-Have Tools for Grill Mastery
To achieve the specific visual results of charred edges and a mirror-like finish, you need the right equipment. A standard outdoor grill (gas or charcoal) is preferred to reach the temperatures required for quick caramelization.
A heavy-duty basting brush is non-negotiable for applying the thick glaze. You want a brush that can hold a significant amount of sauce to create that “dripping” succulent look. Additionally, a pair of long-handled tongs will allow you to flip the chicken safely without piercing the meat and losing those precious juices.
For the garnishes, a very sharp chef’s knife is required to get those clean, bias-cut scallion slices. If your knife is dull, you will bruise the scallions, turning them a dark, unappealing green rather than the vibrant bright green seen in the professional blueprint.
The Step-by-Step Path to Grilled Perfection
Preparing the Chicken and the Master Glaze
Start by patting your chicken thighs dry with paper towels. Removing surface moisture is the most important step for achieving a proper sear; if the meat is wet, it will steam rather than brown, and you won’t get those dark charred grill marks.
In a small saucepan over medium heat, combine your sweet chili sauce, honey, rice vinegar, and a splash of soy sauce. Whisk constantly for 3-5 minutes until the mixture reduces slightly and coats the back of a spoon with a thick, translucent consistency. Set aside half of this glaze for the final coating to ensure maximum glossiness.
Achieving the Perfect Char and Succulence
Preheat your grill to medium-high heat, roughly 400°F (204°C). Lightly oil the grill grates using a neutral oil like grapeseed or canola to prevent sticking. Place the seasoned chicken thighs onto the direct heat.
Sear the chicken for 5-6 minutes per side. You are looking for a deep golden-brown crust to form. During the last 4 minutes of cooking, begin basting the chicken generously with the first half of your glaze. The sugars will begin to bubble and darken, creating the caramelized edges we desire.
The Final Baste and Visual Flourish
Once the internal temperature of the chicken reaches 165°F (74°C), remove it from the grill. Immediately brush the chicken with the reserved, fresh glaze. This “double-glazing” technique is what creates the mirror-like glow and visible viscosity seen in food photography.
Pile the chicken high on a rustic ceramic plate. While the glaze is still tacky, generously scatter the toasted white sesame seeds and the dried red chili flakes. Finally, drape the bias-cut green scallions over the top, allowing some to fall naturally onto the plate for a handheld smartphone photo aesthetic.
Expert Tips for a Professional Result
- Temperature Control: If your grill is too hot, the sugar in the glaze will burn before the chicken is cooked. If it’s too cool, you won’t get the char. Aim for a steady 400°F (204°C).
- The Resting Period: Let the chicken rest for 5 minutes before serving. This allows the juices to redistribute, ensuring that succulent interior texture mentioned in the prompt.
- Toast Your Seeds: Always toast sesame seeds in a dry pan for 2 minutes until they smell nutty. It makes a massive difference in the final flavor profile.
- Bias-Cut Scallions: Cutting scallions at a 45-degree angle (bias-cut) creates more surface area, making them look more elegant and professional on the plate.
Perfect Pairings: What to Serve with Sweet Chili Chicken
This Sweet chili grilled chicken is a versatile star that pairs beautifully with a variety of textures. For a complete feast, consider serving it alongside a refreshing strawberry chicken salad to provide a sweet and tart contrast to the grilled heat.
If you want to keep the meal within the realm of Asian-inspired flavors, these thighs are incredible when sliced and served next to Vietnamese grilled chicken skewers for a protein-packed platter. For those who enjoy a bit of zest, a side of lime cilantro grilled chicken can brighten the plate.
If you find yourself with leftovers, this chicken makes an excellent filling for grilled chicken tacos. The sweet chili glaze provides a unique fusion twist that pairs surprisingly well with corn tortillas and fresh cabbage slaw.
Frequently Asked Questions
Yes, you can bake the chicken at 400°F (204°C) and then finish it under the broiler for 2-3 minutes to get those characteristic charred edges and bubbly glaze.
Yes, but be careful not to overcook them. Breasts lack the fat content of thighs, so they can dry out quickly. Reduce the grilling time by 2-3 minutes and ensure you baste heavily to lock in moisture.
The secret is adding a bit of honey to your sweet chili sauce and reducing it on the stove before basting. Also, apply a fresh layer of glaze immediately after the chicken comes off the grill for that mirror-like finish.
Use a very sharp knife and cut the scallions at a sharp 45-degree angle (bias-cut). This creates long, elegant ovals that look much more professional than simple rounds.
The glaze contains high amounts of sugar which burns easily. Only start basting during the last few minutes of cooking and ensure your grill isn’t hotter than 400°F (204°C).
The Ultimate Sweet Chili Grilled Chicken Recipe
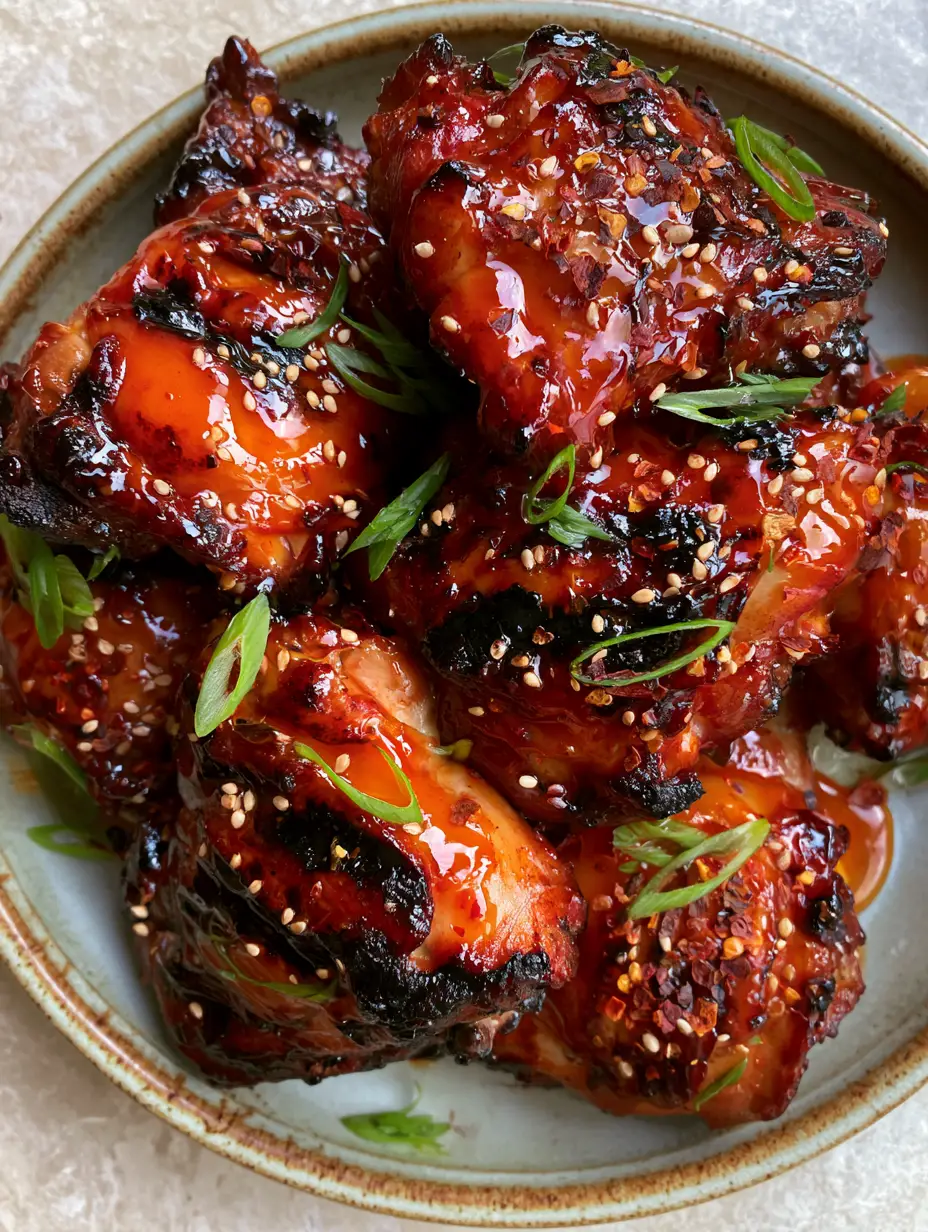
Sweet chili grilled chicken with a Glossy Glaze and Charred Edges
Ingredients
Equipment
Method
- Pat the chicken thighs dry with paper towels to ensure a good sear. Season both sides with salt and pepper.
- In a small saucepan, whisk sweet chili sauce, honey, and rice vinegar over medium heat until thickened and glossy. Separate into two bowls.
- Place chicken on a preheated grill (400°F/204°C). Grill for 5-6 minutes per side until dark charred grill marks appear.
- During the last 4 minutes, baste generously with the first half of the glaze. Once chicken reaches 165°F (74°C), remove from heat.
- Immediately brush with the remaining fresh glaze for a mirror-like glow. Pile high on a plate.
- Scatter toasted sesame seeds, dried chili flakes, and thin bias-cut scallions over the succulent chicken.
Notes
Always rest the chicken for 5 minutes before serving to keep it juicy.
Closing & Call to Action
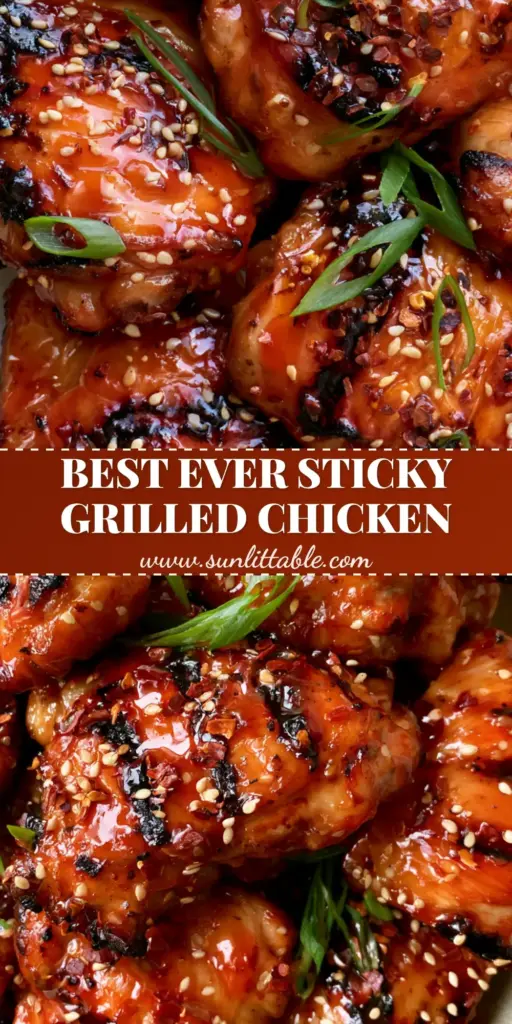
Mastering the Sweet chili grilled chicken is a milestone for any home cook looking to elevate their grilling game. The combination of the thick, mirror-finish glaze and the succulent, charred meat creates a dish that is as visually stunning as it is delicious. The key is in the details: the toasted seeds, the sharp scallions, and that final, glossy basting step.
If you enjoyed this recipe, please leave a comment below and let us know how your char marks turned out! Don’t forget to follow us on Pinterest and save this recipe to your favorite boards for your next summer cookout. Happy grilling!