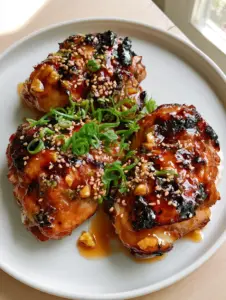
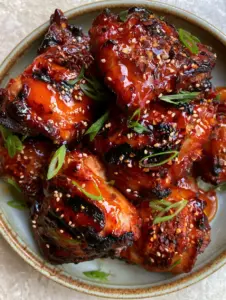
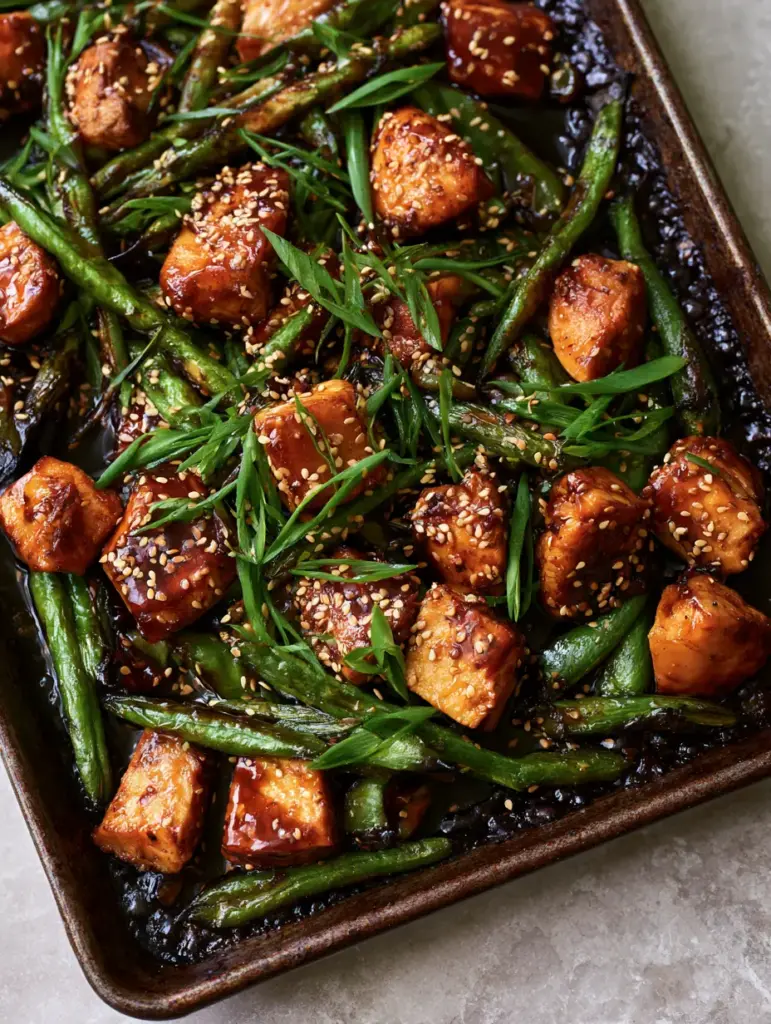
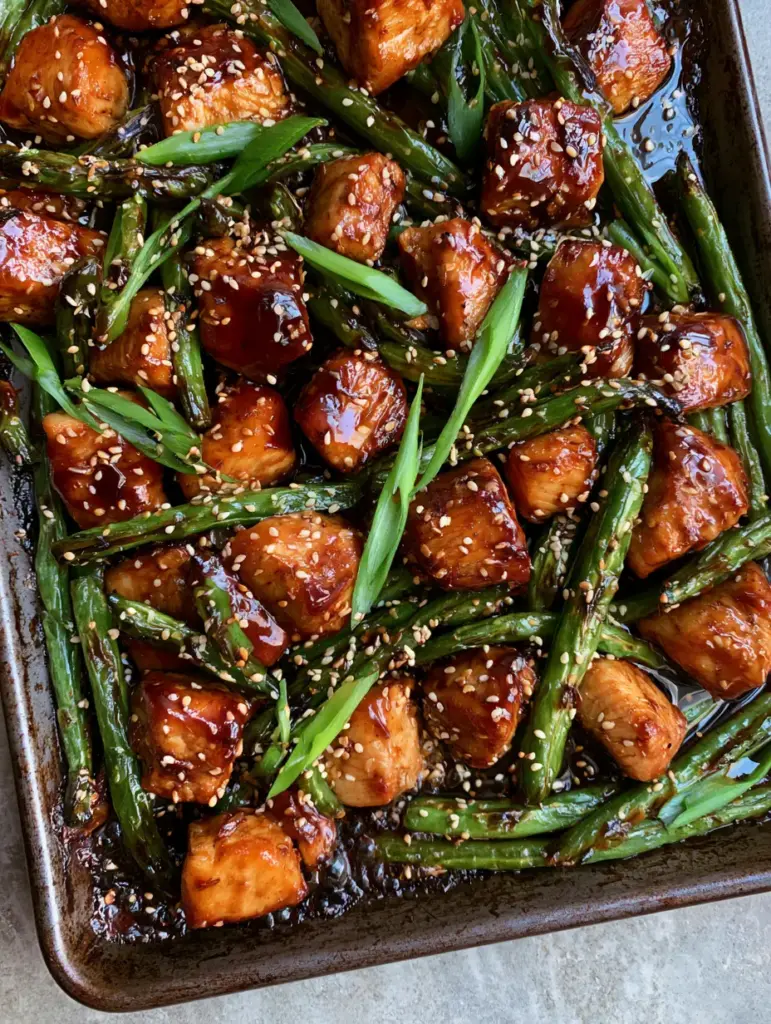
There is a specific visual magic that happens when high-heat roasting meets a traditional Japanese-inspired glaze. This Teriyaki Chicken and Green Beans recipe isn’t just another weeknight meal; it is a masterclass in texture and color. Imagine bite-sized cubes of chicken, seared to golden perfection, nestled against emerald green beans that boast those sought-after charred, blistered tips.
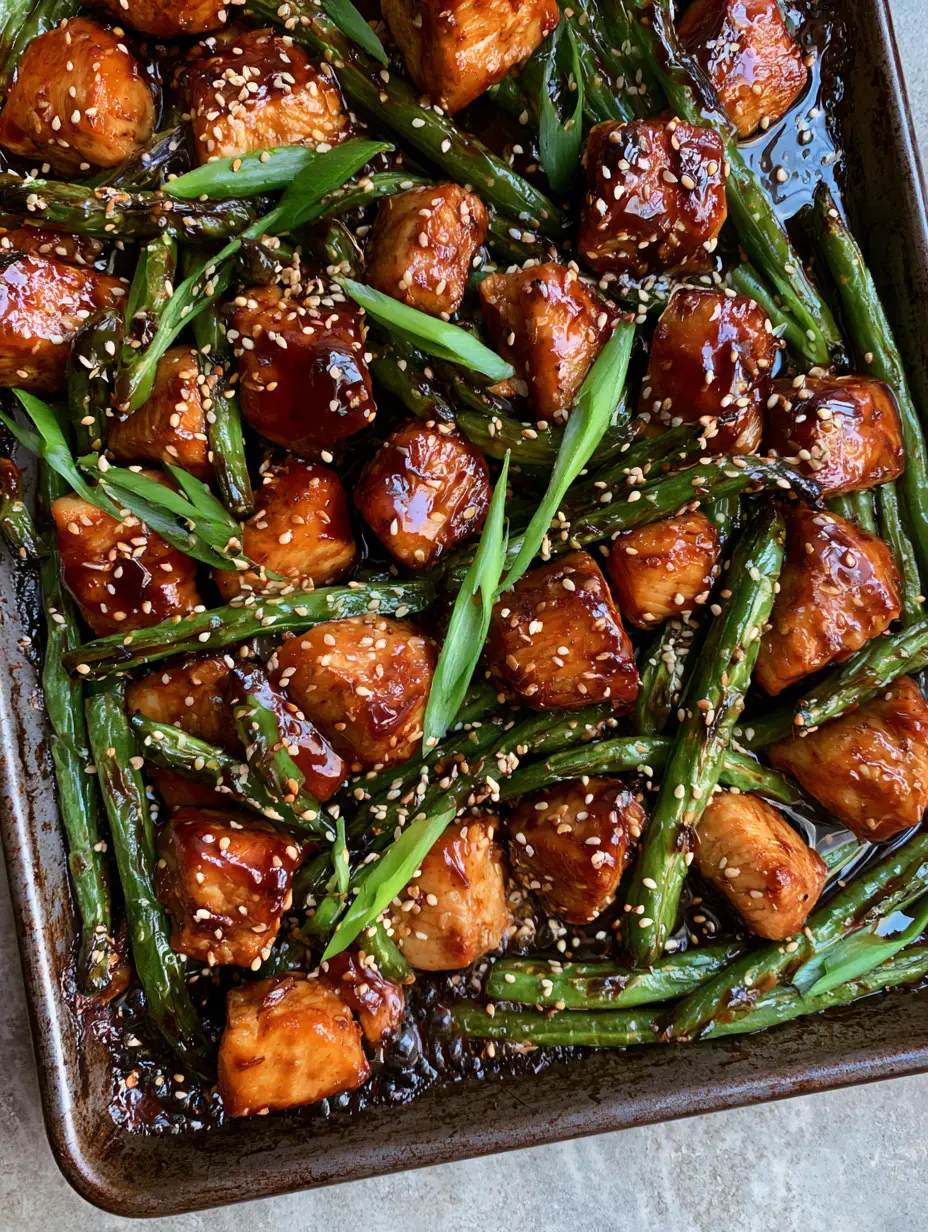
The centerpiece of this dish is undoubtedly the thick, glossy, mahogany-colored teriyaki glaze. As it roasts, the sauce begins bubbling slightly at the edges of a rustic dark metal sheet pan, creating a sticky coating that clings to every crevice. Finished with a flurry of toasted white sesame seeds and bright green scallions cut on a sharp diagonal, this dish looks as professional as it tastes.
Whether you are looking for a quick cleanup or a meal-prep staple that doesn’t sacrifice quality, this recipe delivers. By utilizing a single baking sheet, we maximize the Maillard reaction—that chemical process between amino acids and reducing sugars that gives browned food its distinctive flavor—ensuring every bite of chicken is savory and every bean is snappy.
Why This Sheet Pan Teriyaki Chicken and Green Beans Works
- Textural Contrast: You get the juicy, tender interior of seared chicken breast cubes paired with the structural snap of roasted whole green beans.
- Visual Brilliance: The deep mahogany glaze provides a stunning backdrop for the vibrant emerald greens and the bright white of the sesame seeds.
- Efficient Umami: By making the sauce from scratch, we control the thickness and the salt content, ensuring a balanced, savory-sweet profile.
- Minimal Cleanup: Using a dark metal rimmed baking sheet allows for even heat distribution and keeps all those delicious juices contained.
The Anatomy of a Perfect Mahogany Teriyaki Glaze
To achieve the “thick glossy mahogany” look described in our visual blueprint, we cannot rely on thin, store-bought marinades. A true teriyaki involves a balance of soy sauce, mirin, and a sweetener like brown sugar or honey. The honey is particularly important here, as it provides the reflective, mirror-like finish seen in professional food photography.
If you are looking for variations, you might enjoy our pineapple chicken teriyaki which adds a tropical acidity to the mix. For those with dietary restrictions, this recipe is easily adaptable into a gluten-free teriyaki chicken by simply swapping the soy sauce for tamari or coconut aminos.
Essential Ingredients for Success
The Protein and Produce
Chicken Breast (2 lbs / 900g): We use boneless, skinless breasts cut into uniform 1-inch (2.5cm) cubes to ensure they sear quickly without drying out. Uniformity is the key to even cooking across the entire sheet pan.
Fresh Green Beans (1 lb / 450g): Whole fresh beans are essential; frozen beans will release too much moisture and prevent the “blistered” effect we want. Look for vibrant, snap-fresh pods that feel firm to the touch.
The Signature Glaze
Soy Sauce (1/2 cup / 120ml): This provides the foundational salt and the deep color required for that mahogany finish. Use a high-quality brewed soy sauce for the best depth of flavor.
Mirin (1/4 cup / 60ml): A Japanese rice wine that adds a mild acidity and a subtle sweetness that sugar alone cannot replicate. It also helps in creating that professional sheen.
Brown Sugar and Honey (2 tbsp / 30g each): The brown sugar adds molasses notes, while the honey ensures the sauce is thick and sticky enough to bubble at the edges. If you prefer a more classic green vegetable pairing, you can also try this glaze with teriyaki chicken and broccoli.
Foundational Invisible Ingredients
Avocado Oil (2 tbsp / 30ml): A high-smoke point oil is necessary for searing the chicken at 425°F (220°C) without the oil breaking down or smoking excessively. You can also use grapeseed oil as a substitute.
Cornstarch (1 tbsp / 8g): Mixed with a little water, this acts as the thickening agent that transforms a thin liquid into a rich, coating glaze.
Necessary Kitchen Tools
To achieve the charred tips and bubbling sauce shown in the visual prompt, you need a dark metal rimmed baking sheet. Dark metal absorbs and radiates heat more intensely than light-colored aluminum, which is the secret to getting those blistered spots on the green beans.
You will also need a sharp chef’s knife for those bias-cut scallions and a small saucepan to pre-thicken the glaze before it hits the oven. For other chicken preparations that require high-heat precision, check out our guide on crispy baked chicken cutlets.
Step-by-Step Instructions to Perfection
1. Prepare the Mahogany Glaze
In a small saucepan over medium heat, whisk together the soy sauce, mirin, brown sugar, honey, minced ginger, and garlic. Bring to a gentle simmer. In a small bowl, mix the cornstarch with 1 tablespoon (15ml) of cold water to create a slurry, then whisk it into the saucepan. Stir constantly until the sauce thickens into a glossy, dark syrup that coats the back of a spoon. Set aside.
2. Prep and Sear the Chicken
Preheat your oven to 425°F (220°C). Pat the chicken cubes dry with paper towels—moisture is the enemy of a good sear. Toss the chicken cubes with 1 tablespoon (15ml) of avocado oil and a pinch of salt. Spread them out on the dark metal sheet pan, ensuring they aren’t crowded. Roast for 8 minutes to begin the searing process.
3. Blister the Green Beans
While the chicken is starting its sear, toss the whole green beans in the remaining oil. After the initial 8 minutes, slide the tray out and add the green beans to the pan. Use a spatula to toss them with the chicken. The high heat of the dark pan will begin to create charred and blistered spots on the emerald green skins of the beans.
4. The Final Glaze and Roast
Pour 3/4 of the prepared teriyaki glaze over the chicken and beans. Toss well until every piece is drenched in the mahogany sauce. Return to the oven for another 7–10 minutes. Watch for the sensory cue: the sauce should be bubbling slightly at the edges of the pan and the chicken should have a deep golden-brown crust.
5. Garnish and Serve
Remove the pan from the oven and immediately drizzle the remaining glaze over the top for maximum shine. While still hot, sprinkle a flurry of toasted white sesame seeds over the dish. Finally, scatter the finely sliced scallions, ensuring you’ve cut them on a sharp diagonal (bias-cut) for that professional aesthetic.
Expert Tips for Visual and Flavor Success
- Dry Your Produce: If your green beans are wet from washing, they will steam instead of roast. Dry them thoroughly to ensure you get those charred tips.
- The “Bubbling” Effect: If the sauce isn’t bubbling at the edges by the 8-minute mark of the second roast, turn your oven to “broil” for the last 60 seconds. Stay close to prevent burning!
- Bias-Cut Scallions: Cutting scallions at a 45-degree angle exposes more of the bright green interior and creates a more elegant garnish than simple rounds.
- Crowding the Pan: If the chicken and beans are piled on top of each other, they won’t sear. Use two sheet pans if necessary to ensure a single layer.
Storage, Reheating, and Freezing
Refrigeration: Store leftovers in an airtight container for up to 4 days. The glaze will thicken further in the fridge. When reheating, add a splash of water to loosen the sauce back to its glossy state.
Reheating: For the best results, reheat in a skillet over medium-high heat. This helps re-crisp the chicken and maintains the snap of the green beans better than a microwave.
Freezing: You can freeze the cooked chicken and glaze for up to 3 months, but be aware that the green beans will lose their “snap” and become soft upon thawing. For better freezing results, you might prefer a sturdier dish like our firecracker ground chicken.
What to Serve With Teriyaki Chicken and Green Beans
This dish is a complete meal on its own, but it pairs beautifully with a side of jasmine rice or quinoa to soak up the extra mahogany glaze. For a lower-carb option, serve it alongside a fresh healthy chicken salad.
If you’re hosting a multi-course Asian-inspired dinner, consider starting with these teriyaki chicken skewers as an appetizer to carry the flavor theme throughout the meal.
Frequently Asked Questions
It is not recommended. Frozen green beans release too much moisture as they thaw, which will steam the chicken rather than sear it, and you won’t achieve the charred, blistered tips shown in the photos.
The secret is the combination of honey and a cornstarch slurry. Honey provides the reflective sheen, while the cornstarch thickens the soy sauce and mirin into a dark, mahogany syrup that clings to the chicken.
As written, it contains soy sauce which has wheat. To make it gluten-free, simply substitute the soy sauce with tamari or coconut aminos and ensure your mirin is certified gluten-free.
Look for the sauce bubbling at the very edges of the sheet pan and the green beans developing dark, charred spots while remaining vibrant emerald green.
Dark metal pans absorb more heat and distribute it more intensely to the surface of the food. This is essential for getting that ‘seared’ look on the chicken and the ‘blistered’ spots on the green beans.
The Ultimate Sheet Pan Teriyaki Chicken and Green Beans Recipe
Teriyaki Chicken and Green Beans: The Ultimate Glossy Sheet Pan Dinner
Ingredients
Equipment
Method
- Whisk soy sauce, mirin, sugar, honey, ginger, and garlic in a saucepan. Simmer, then whisk in cornstarch slurry until thick and glossy.
- Toss chicken cubes with oil and salt. Roast on a dark metal sheet pan at 425°F (220°C) for 8 minutes.
- Add green beans to the pan. Drizzle with 3/4 of the glaze. Roast for another 7-10 minutes until beans are blistered and sauce is bubbling.
- Drizzle remaining glaze. Sprinkle with toasted sesame seeds and diagonal-cut scallions.
Notes
Dry the chicken thoroughly with paper towels before roasting to ensure a proper sear.
Closing & Call to Action
Making a restaurant-quality Teriyaki Chicken and Green Beans at home is all about mastering the heat and the glaze. The combination of the dark metal pan and the honey-infused sauce creates a visual and culinary experience that is hard to beat. If you enjoyed this recipe, please leave a comment below and let us know how your charred green beans turned out!
Don’t forget to follow us on Pinterest for more sheet pan inspiration and tag us in your photos. Happy cooking!