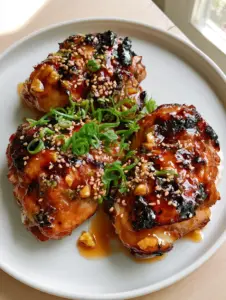
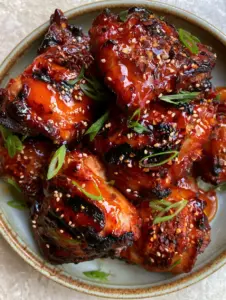
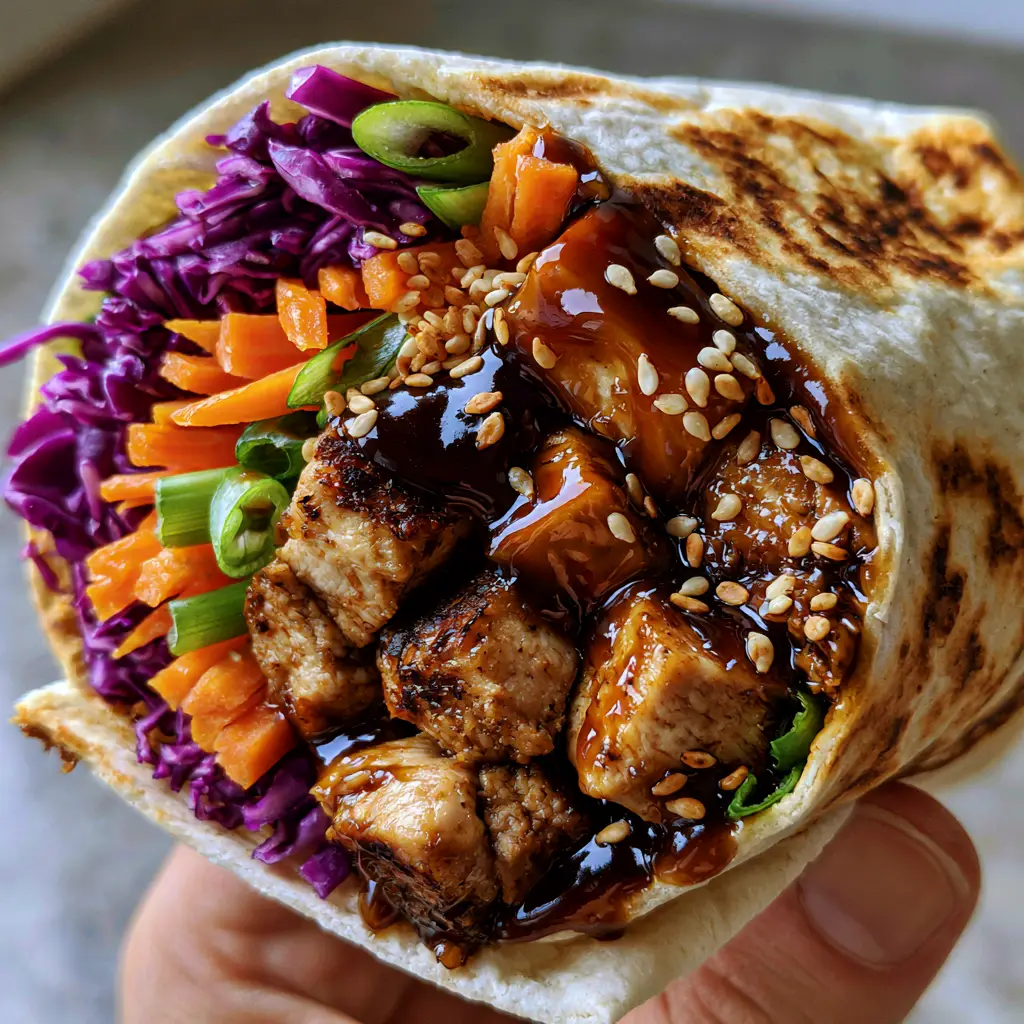
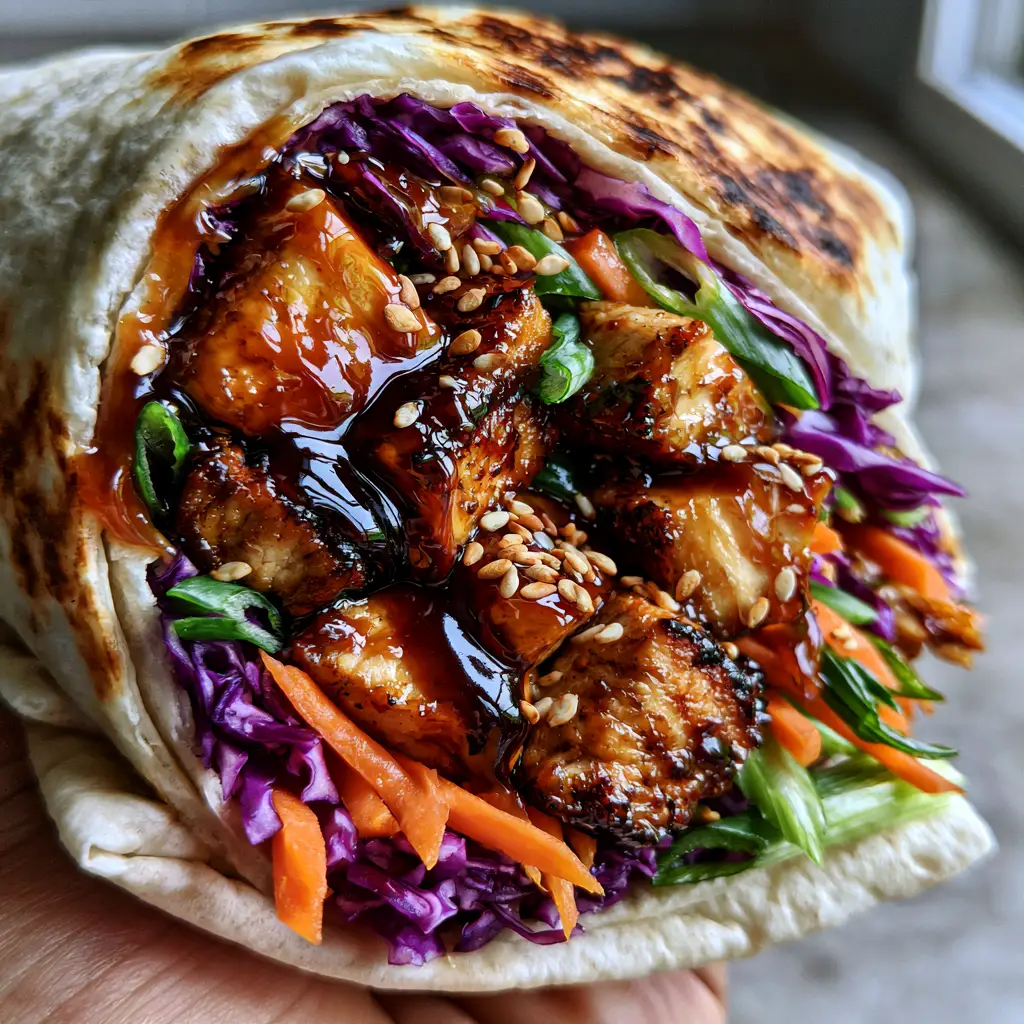
The teriyaki chicken wrap is the ultimate handheld meal that balances savory, sweet, and crunchy textures in every single bite. Imagine biting into a warm, charred flour tortilla filled with succulent, seared chicken breast cubes that have been drenched in a thick, dark amber teriyaki glaze. This isn’t your average sandwich; it is a culinary experience designed to satisfy your cravings for Japanese-inspired flavors while providing the convenience of a portable wrap.
Whether you are looking for a high-protein lunch or a vibrant dinner option, this recipe delivers on every front. The contrast between the hot, sticky chicken and the cold, crisp shredded purple cabbage and julienned carrots creates a sensory delight. By following this guide, you will master the art of the perfect sear and the science behind a glaze that actually sticks to your ingredients.
Why You Will Love This Vibrant Teriyaki Chicken Wrap
- Textural Contrast: The combination of juicy, tender chicken and the “snap” of fresh, raw vegetables provides a satisfying mouthfeel in every bite.
- Visually Stunning: With bright orange carrots, deep purple cabbage, and flecks of green scallions, this wrap looks as good as it tastes.
- Restaurant-Quality Glaze: Move over bottled sauces; this homemade version is thicker, glossier, and more flavorful than anything you can buy.
- Perfect Portability: Wrapped tightly in a charred tortilla, it’s the ideal meal for busy days or outdoor picnics.
- Customizable Heat: While the base is savory-sweet, you can easily kick up the spice with a drizzle of sriracha or extra ginger.
Essential Ingredients for the Ultimate Teriyaki Chicken Wrap
To achieve the specific visual and flavor profile of a professional teriyaki chicken wrap, every ingredient plays a critical role. We focus on high-quality proteins and fresh aromatics to build a complex flavor base.
The Protein and Marinade Base
Chicken Breast (1.5 lbs / 680g): We use boneless, skinless chicken breast cut into 1-inch (2.5cm) cubes to ensure even cooking and maximum surface area for the glaze to cling to. Chicken breast provides a lean, clean canvas for the bold teriyaki flavors.
Soy Sauce (0.5 cup / 120ml): This serves as the salty, umami-rich foundation of our glaze. If you need a wheat-free option, you can easily swap this for a gluten-free soy sauce or tamari.
Brown Sugar (0.33 cup / 65g): The molasses content in brown sugar is what creates that “dark amber” color and sticky consistency seen in the visual blueprint. It also balances the saltiness of the soy sauce perfectly.
Mirin or Rice Vinegar (2 tbsp / 30ml): Mirin adds a subtle sweetness and a beautiful luster to the sauce, while rice vinegar provides the necessary acidity to cut through the sugar.
The Aromatics and Thickening Agents
Fresh Ginger (1 tbsp / 6g): Grating fresh ginger directly into the pan releases essential oils that provide a zingy, spicy undertone that dried ginger simply cannot replicate.
Garlic (3 cloves): Finely minced garlic creates a pungent aromatic base that melds into the sauce during the reduction process.
Cornstarch Slurry (1 tbsp / 8g cornstarch + 1 tbsp / 15ml water): This is the secret to the “glossy” finish. It binds the sauce together, ensuring it coats the chicken cubes thickly rather than running off.
The Fresh Crunch and Wrap Components
Large Flour Tortillas (4 count): Choose high-quality, pliable tortillas that can withstand a light char without cracking. This provides the structural integrity for the teriyaki chicken wrap.
Purple Cabbage (2 cups / 150g): Shredded thinly, this adds a vibrant pop of color and a sturdy crunch that doesn’t wilt immediately when it touches the warm chicken.
Carrots (1 cup / 100g): Julienned into matchsticks, carrots provide a natural sweetness and a bright orange hue that contrasts beautifully with the dark glaze.
Scallions and Cilantro: Sliced green onions and fresh cilantro sprigs add a final layer of herbal freshness and “green” notes to balance the richness of the meat.
Must-Have Kitchen Tools for Recipe Success
To replicate the macro-shot perfection of the blueprint, you need tools that facilitate high-heat searing and precise vegetable prep. A heavy-bottomed cast iron or stainless steel skillet is non-negotiable for achieving those golden-brown chicken edges.
A sharp chef’s knife or a mandoline slicer is essential for the julienned carrots and shredded cabbage. Achieving uniform thickness in your vegetables ensures that every bite has a consistent texture. Finally, a pair of silicone-tipped tongs will help you flip the chicken cubes and handle the tortillas over an open flame without tearing them.
Step-by-Step Guide to the Perfect Teriyaki Chicken Wrap
Phase 1: Searing the Chicken to Golden Perfection
Start by patting your chicken cubes dry with a paper towel. This is a crucial step; moisture on the surface of the meat prevents the Maillard reaction, leading to steaming rather than searing.
Heat 2 tablespoons (30ml) of neutral oil in your skillet over medium-high heat. Once the oil is shimmering, add the chicken in a single layer, ensuring you don’t overcrowd the pan. Let the chicken sit undisturbed for 2-3 minutes until a deep golden-brown crust forms on the bottom.
Flip the cubes and sear the other sides for another 3-4 minutes. You are looking for a firm texture and a visual “seared” look that matches the visual blueprint. Once cooked through, remove the chicken from the pan and set aside.
Phase 2: Crafting the Dark Amber Glossy Glaze
In the same skillet, reduce the heat to medium and add the garlic and ginger. Sauté for 30 seconds until fragrant, then pour in the soy sauce, brown sugar, and mirin. Use a wooden spoon to scrape up any browned bits (fond) from the bottom of the pan—this is concentrated flavor!
Bring the mixture to a gentle simmer. In a small bowl, whisk the cornstarch and water to create a slurry, then slowly whisk it into the bubbling sauce. Continue to simmer for 2-3 minutes. You will see the sauce transform from a thin liquid into a thick, dark amber glaze that coats the back of a spoon with a high-gloss finish.
Return the seared chicken cubes to the pan. Toss them thoroughly in the glaze until every piece is drenched and sticky. Sprinkle with the toasted white sesame seeds while the sauce is still hot so they adhere to the chicken.
Phase 3: Charring the Tortillas and Preparing the Slaw
For the most authentic flavor, place your flour tortillas directly over a low gas flame for 10-15 seconds per side using tongs. If you don’t have a gas stove, a hot dry skillet works perfectly. Look for those “light toasted golden-brown char marks” mentioned in the Midjourney prompt.
While the tortillas stay warm in a clean towel, toss your shredded purple cabbage and julienned carrots together. This simple mixture provides the vibrant “core” of the wrap.
Phase 4: Assembly for the Perfect Cross-Section
Lay a charred tortilla flat. In the center, place a generous handful of the cabbage and carrot mixture. Layer the glossy teriyaki chicken cubes on top, followed by a sprinkle of sliced scallions and fresh cilantro sprigs.
To fold, tuck in the sides and roll tightly from the bottom. Using a very sharp knife, slice the teriyaki chicken wrap at a diagonal. This reveals the stunning macro cross-section where the thick sauce meets the bright, crisp vegetables.
Expert Tips for a Professional-Grade Wrap
- Don’t Overcook the Sauce: If the glaze becomes too thick or “tacky,” simply whisk in a tablespoon of water or pineapple juice to loosen it back to a glossy state.
- Toast Your Seeds: If your sesame seeds aren’t pre-toasted, toss them in a dry pan for 1-2 minutes until they smell nutty. This small step significantly enhances the flavor profile.
- Dry the Vegetables: Ensure your shredded cabbage and carrots are completely dry after washing. Any excess water will thin out your teriyaki sauce and lead to a soggy wrap.
- Rest the Meat: Let the glazed chicken sit for 2 minutes before assembling. This allows the sauce to “set” slightly, preventing it from running out of the wrap when you take a bite.
Storage, Reheating, and Meal Prep Advice
If you are meal prepping the teriyaki chicken wrap, it is best to store the components separately. Store the glazed chicken in an airtight container for up to 4 days. Keep the shredded cabbage and carrots in a separate container to maintain their crunch.
To reheat, warm the chicken in a skillet over low heat with a splash of water to revive the glaze. Do not microwave the assembled wrap, as the vegetables will lose their texture and the tortilla will become gummy. Always char the tortilla fresh just before serving for the best experience.
What to Serve With Your Teriyaki Wrap
This wrap is a complete meal on its own, but it pairs beautifully with other Asian-inspired sides. If you want to keep the theme going, try serving it alongside some blistered green beans or a refreshing ginger-dressed side salad.
For those who love a bit of fruitiness with their savory dishes, these wraps are excellent when followed by a side of grilled pineapple chunks. If you have leftover chicken, it works perfectly the next day as a topper for vibrant garden salads.
Frequently Asked Questions
Yes! Use a gluten-free tamari or coconut aminos in place of soy sauce, and swap the flour tortilla for a large gluten-free wrap or a sturdy lettuce leaf.
Absolutely! Chicken thighs are more forgiving and stay juicy even with high-heat searing. Just ensure you trim the excess fat to keep the wrap from becoming greasy.
The secret is using a cornstarch slurry and simmering the sauce until it reduces. The sugar and mirin provide the shine, while the cornstarch provides the thickness needed to coat the chicken.
Make sure your vegetables are completely dry after washing and let the glazed chicken rest for 2 minutes before assembly. This prevents excess moisture from soaking into the tortilla.
Use a dry cast iron skillet over high heat. Place the tortilla in the hot pan for about 20-30 seconds per side until toasted golden-brown spots appear.
The Ultimate Teriyaki Chicken Wrap Recipe
Teriyaki Chicken Wrap with Crunchy Slaw and Glossy Glaze
Ingredients
Equipment
Method
- Heat oil in a skillet and sear chicken cubes for 6-8 minutes until golden-brown and cooked through. Remove from pan.
- In the same pan, combine soy sauce, sugar, mirin, ginger, and garlic. Whisk in cornstarch slurry and simmer until thick and glossy.
- Toss the chicken back into the glaze until thoroughly coated and sticky. Sprinkle with sesame seeds.
- Briefly toast tortillas over an open flame until light char marks appear.
- Layer cabbage, carrots, teriyaki chicken, scallions, and cilantro in the center of each tortilla. Roll tightly and slice diagonally.
Notes
Toast sesame seeds in a dry pan for 2 minutes to unlock maximum flavor.
Take Your Lunch to the Next Level
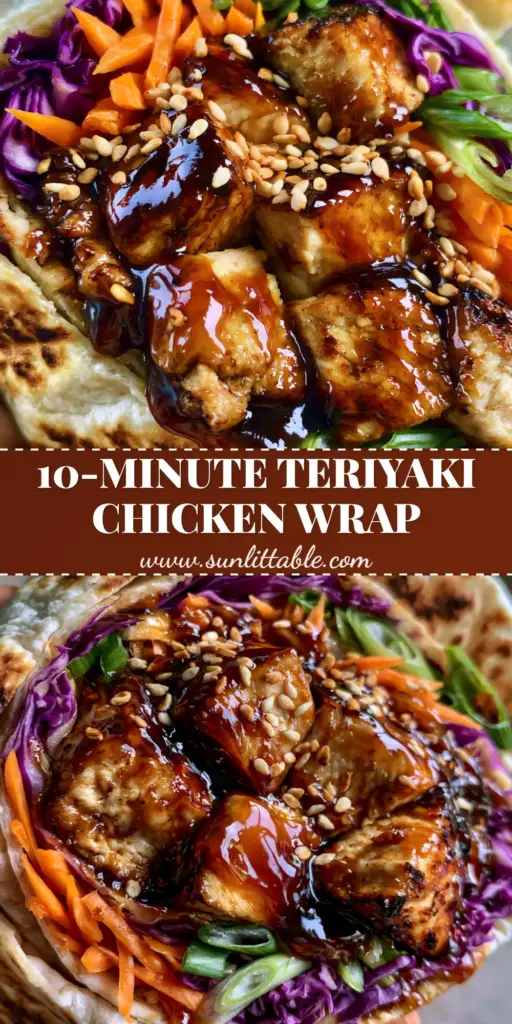
The teriyaki chicken wrap is proof that healthy eating doesn’t have to be boring. With its balance of sweet glaze, savory seared chicken, and a rainbow of crunchy vegetables, it’s a recipe you’ll find yourself coming back to week after week. The secret lies in the quality of the sear and the thickness of that homemade glaze.
If you enjoyed this recipe, please leave a comment below and let us know how your wraps turned out! Don’t forget to share your creations on Pinterest and tag us. Happy cooking!