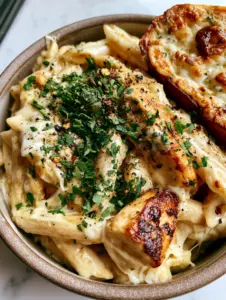
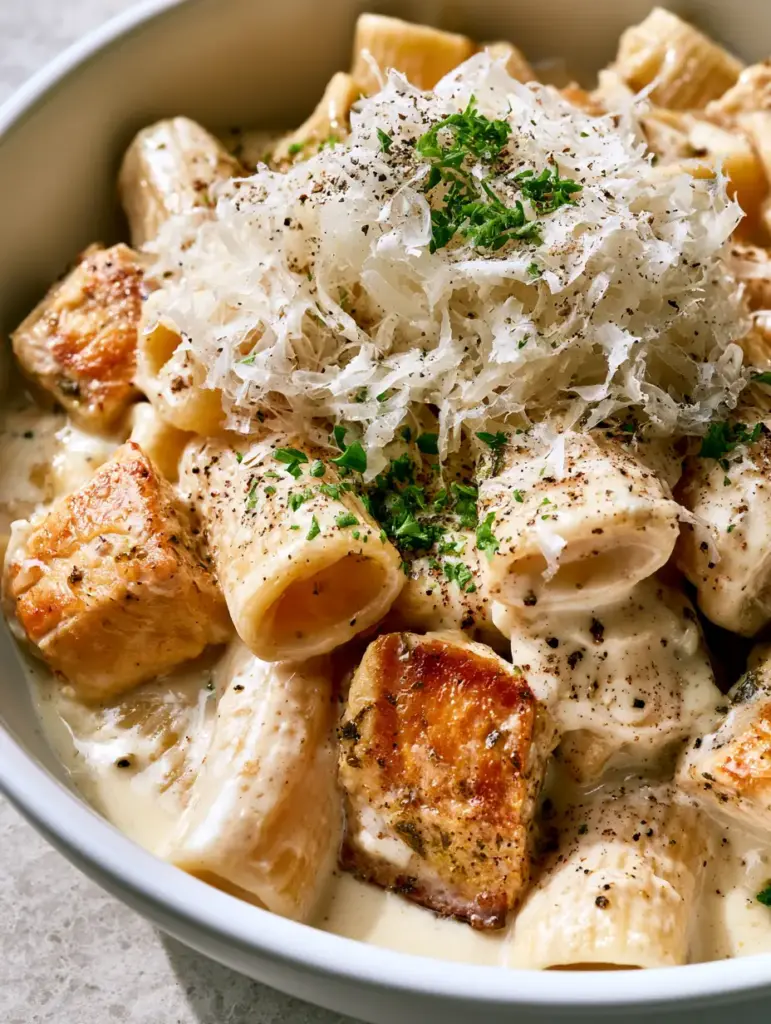
The Parmesan chicken rigatoni is a masterclass in culinary texture, blending the structural integrity of al dente pasta with a luxurious, ivory-hued garlic cream sauce. Every element of this dish is designed to catch the light, from the golden-brown seared chicken chunks to the mountain of airy, microplaned parmesan wisps that crown the bowl.
Imagine a matte white wide pasta bowl, cradling large rigatoni tubes that have been perfectly coated in a thick, ultra-glossy emulsion. The sauce isn’t just a liquid; it’s a shimmering glaze that clings to every ridge of the pasta, punctuated by the sharp green of fresh parsley and the rustic bite of coarse cracked black pepper.
In this guide, we dive deep into the forensic details of creating this visual and gastronomic masterpiece. We will explore the science of the Maillard reaction to achieve that specific herb-crusted chicken exterior and the emulsification techniques required for a sauce that remains stable and glossy until the very last bite.
The Structural Appeal of This Gourmet Rigatoni
- Architectural Pasta: The use of large rigatoni provides a robust vessel that captures the garlic cream sauce both inside and out, ensuring a burst of flavor in every mouthful.
- Textural Contrast: We achieve a perfect balance between the tender, juicy chicken breast with its crisp herb crust and the delicate, cloud-like texture of microplaned parmesan cheese.
- Glossy Visuals: A specialized butter-and-cheese emulsification technique creates a sauce that reflects light with a professional, high-end aesthetic.
- Herb-Forward Profile: The inclusion of freshly minced flat-leaf parsley and coarse cracked black pepper provides essential visual contrast against the ivory sauce.
Premium Ingredients for the Ultimate Garlic Cream Glaze
Large Rigatoni Pasta: 1 lb (454g). The ridges are essential for the sauce to “grip” the pasta, while the hollow center acts as a reservoir for the garlic cream.
Boneless Skinless Chicken Breasts: 1.5 lbs (680g). These are cut into generous chunks and seared to a deep golden brown to provide the protein backbone of the dish.
Heavy Whipping Cream: 1.5 cups (355ml). This provides the high fat content necessary for a thick, stable ivory sauce that won’t break under heat.
High-Quality Unsalted Butter: 4 tbsp (56g). Used to create the initial roux-base and the final gloss, adding a rich, velvety mouthfeel.
Fresh Garlic Cloves: 6 cloves (30g). Minced finely to infuse the cream with a pungent, savory aroma without adding unwanted grit to the sauce.
Microplaned Parmesan Cheese: 1.5 cups (approx 150g). Microplaning creates maximum surface area, allowing the cheese to melt into the sauce and sit as airy wisps on top.
Fresh Flat-Leaf Parsley: 1/2 cup (15g). Chopped finely, this adds a bright green visual pop and a clean, peppery finish to cut through the richness.
Coarse Cracked Black Pepper: 1 tsp (2g). Unlike fine pepper, coarse cracks provide visible dark specks and intense bursts of floral heat.
Dried Oregano and Thyme: 1 tsp (2g) each. These form the “herb-crusted” edges on the chicken during the searing process.
Kosher Salt: To taste. Essential for layering flavor at every stage, from the pasta water to the chicken seasoning.
Extra Virgin Olive Oil: 2 tbsp (30ml). This foundational fat is used for searing the chicken at high heat to achieve that visually confirmed golden-brown crust.
Essential Equipment for Professional Results
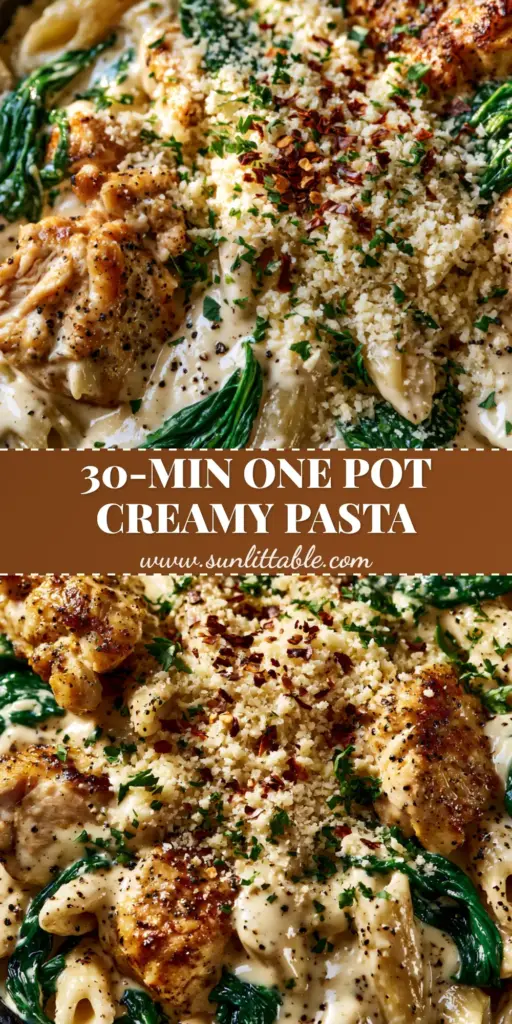
To achieve the “mountain of airy wisps” described in our visual blueprint, a Microplane or fine grater is non-negotiable. Standard graters produce heavy shreds that will sink into the pasta rather than sitting delicately on top.
You will also need a wide, heavy-bottomed stainless steel or cast-iron skillet. The surface area is critical for searing the chicken chunks without crowding the pan, which would lead to steaming rather than browning.
Finally, a matte white wide pasta bowl is the preferred serving vessel to emphasize the ivory sauce and bright green herbs. The neutral background of the bowl and a light grey stone countertop creates the authentic food blogger aesthetic we are targeting.
Constructing the Parmesan Chicken Rigatoni
1. Preparing the Herb-Crusted Chicken Base
Begin by patting the chicken breast chunks completely dry with paper towels. Moisture is the enemy of a golden-brown sear; any surface water will create steam and prevent the Maillard reaction.
Season the chicken generously with salt, dried oregano, and dried thyme. Heat the olive oil in your skillet over medium-high heat until it shimmers but does not smoke.
Add the chicken in a single layer, ensuring space between the pieces. Sear for 3-4 minutes per side until a deep, herb-flecked crust forms, then remove and set aside to rest.
2. The Art of the Al Dente Rigatoni
Bring a large pot of heavily salted water to a rolling boil. It should taste like the sea to properly season the pasta from the inside out.
Cook the rigatoni for 1-2 minutes less than the package instructions. This “al dente” state is crucial, as the pasta will continue to cook slightly when tossed in the hot cream sauce.
Before draining, reserve at least 1 cup (240ml) of the starchy pasta water. This “liquid gold” is the secret to emulsifying the butter and cheese into a glossy glaze.
3. Developing the Glossy Garlic Cream Sauce
In the same skillet used for the chicken, melt the butter over medium heat, scraping up the brown bits (fond) left behind. Add the minced garlic and sauté for 60 seconds until fragrant but not browned.
Pour in the heavy cream and bring to a gentle simmer. Reduce the heat to low and whisk in 1 cup of the microplaned parmesan cheese in small batches, allowing each to melt completely.
The sauce should transform into a thick, ivory-colored liquid. If it appears too thick, whisk in a splash of the reserved pasta water to achieve that ultra-glossy finish.
4. The Final Emulsion and Assembly
Add the cooked rigatoni and the seared chicken chunks back into the skillet. Toss vigorously over low heat for 2 minutes, allowing the sauce to coat every tube and the chicken to reheat.
The sauce will emulsify with the starches from the pasta, creating a glaze that looks like liquid silk. If you enjoy this style of preparation, you might also love our cajun chicken alfredo for a spicier twist.
Remove from heat immediately. The residual heat will continue to thicken the sauce, so serving it while it looks slightly “loose” is the key to perfect table presentation.
Expert Tips for Culinary Success
- Temperature Control: Never boil the sauce once the cheese is added. High heat can cause the parmesan proteins to clump, resulting in a grainy texture rather than a glossy one.
- The Resting Phase: Let your chicken rest for 5 minutes after searing before adding it back to the pasta. This locks in the juices, ensuring the chicken is tender and not dry.
- Microplaning Technique: Grate your cheese directly over the bowl just before serving. The static electricity from the microplane helps the cheese wisps stay airy and voluminous.
- Herb Freshness: Only chop the parsley seconds before garnishing. Freshly minced parsley has a vibrant green color that fades quickly once exposed to air.
Storage, Reheating, and Texture Preservation
Parmesan chicken rigatoni is best enjoyed fresh, but it can be stored in an airtight container in the refrigerator for up to 3 days. The sauce will thicken significantly as it cools.
To reheat, add the pasta to a skillet with a splash of milk or cream. Warm over low heat, stirring constantly, to re-emulsify the fats and restore the glossy appearance.
Avoid using a microwave for reheating if possible, as the uneven heat can cause the cream to “break,” leaving you with an oily residue rather than a creamy sauce.
Complementary Pairings for a Complete Meal
This rich pasta pairs exceptionally well with a crisp, acidic green salad or roasted vegetables to balance the creamy profile. For those who enjoy a variety of poultry textures, consider serving this alongside our grilled chicken for a protein-heavy feast.
If you are looking for other comforting pasta variations, our chicken marsala pasta offers a deep, earthy alternative, while the comfort chicken pasta is a fantastic weeknight staple.
For a lighter side, a simple balsamic glazed asparagus or steamed broccoli works beautifully to cut through the garlic cream emulsion.
Frequently Asked Questions
Yes, chicken thighs are an excellent substitute. They contain more fat and are harder to overcook, though you may need to sear them slightly longer to achieve the golden-brown crust.
The secret is emulsification. Use reserved starchy pasta water and whisk in cold butter at the very end to create a shimmering, professional-grade glaze.
Reheat in a skillet over low heat with a tablespoon of milk or cream. Stir constantly to maintain the emulsion and prevent the sauce from separating into oil.
Graininess usually occurs if the parmesan cheese is added to boiling liquid or if pre-shredded cheese with anti-caking agents is used. Always use freshly microplaned cheese and stir it in over low heat.
The Ultimate Parmesan Chicken Rigatoni Recipe
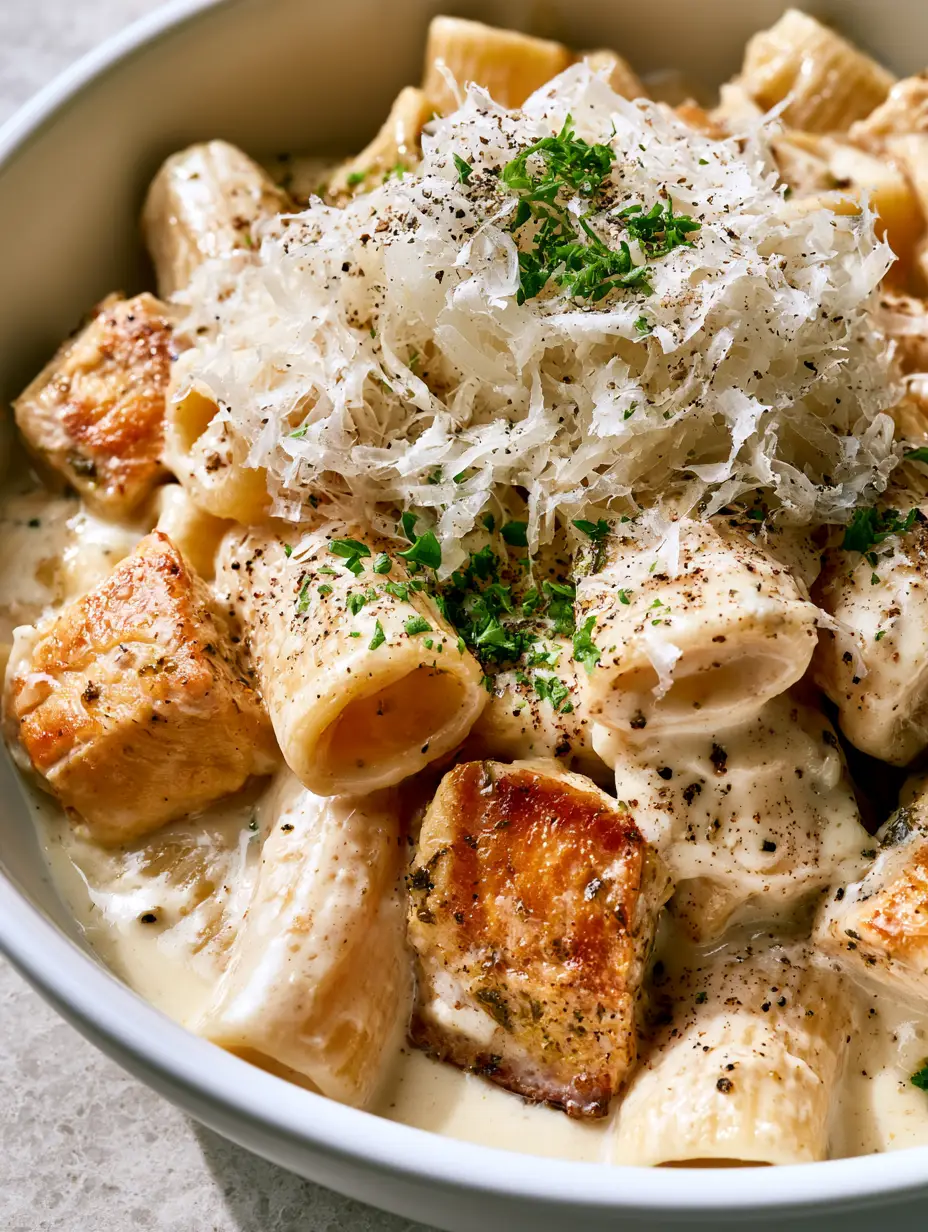
Parmesan Chicken Rigatoni with Glossy Garlic Cream Sauce
Ingredients
Equipment
Method
- Season chicken chunks with salt, oregano, and thyme. Sear in olive oil over medium-high heat until golden-brown and herb-crusted. Set aside.
- Boil rigatoni in salted water until just before al dente. Reserve 1 cup of pasta water and drain.
- Melt butter in the skillet, sauté garlic, then add cream and parmesan. Whisk until a glossy, ivory sauce forms.
- Toss the pasta and chicken in the sauce, adding pasta water as needed for a glossy glaze. Top with microplaned parmesan, parsley, and cracked pepper.
Notes
Do not rinse your pasta, as the surface starch is essential for the sauce emulsion.
Closing & Call to Action
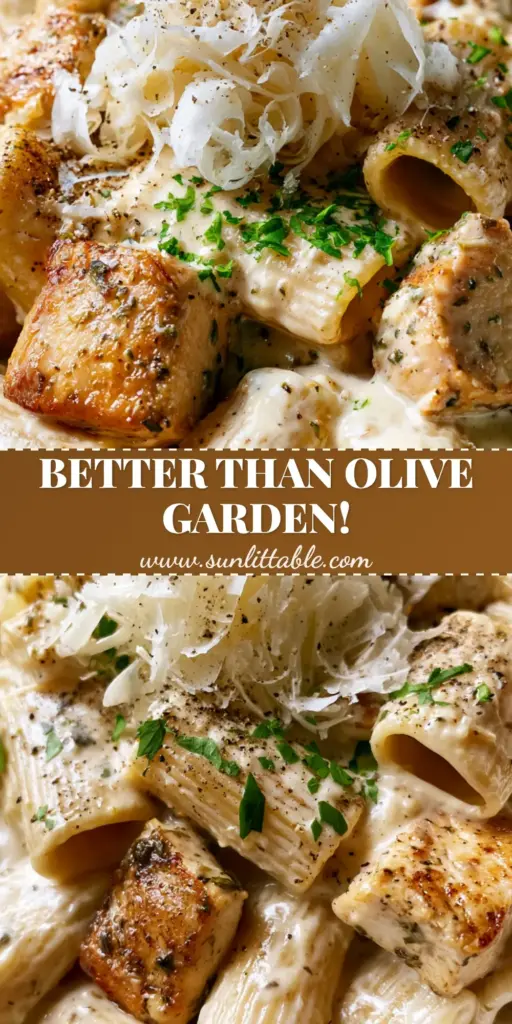
This Parmesan chicken rigatoni is the pinnacle of home-cooked luxury, offering a restaurant-quality experience with ingredients you likely already have in your pantry. The combination of the herb-crusted chicken and that signature ivory glaze makes it a visual showstopper for any dinner party or family gathering.
If you enjoyed this recipe, please leave a comment below and let us know how your sauce turned out! Don’t forget to share your creations on Pinterest and follow our sunlit_table profile for more visually stunning recipe inspiration.