There is nothing quite like the sound of a chicken thigh hitting a screaming-hot cast iron skillet. The immediate sizzle promises a texture that every home cook craves: a shatteringly crisp, golden-brown skin that gives way to succulent, juice-dripping meat. This Cilantro Lime Chicken isn’t just another weekday meal; it is a masterclass in balancing high-heat searing with the bright, acidic punch of fresh citrus and the earthy depth of toasted garlic.
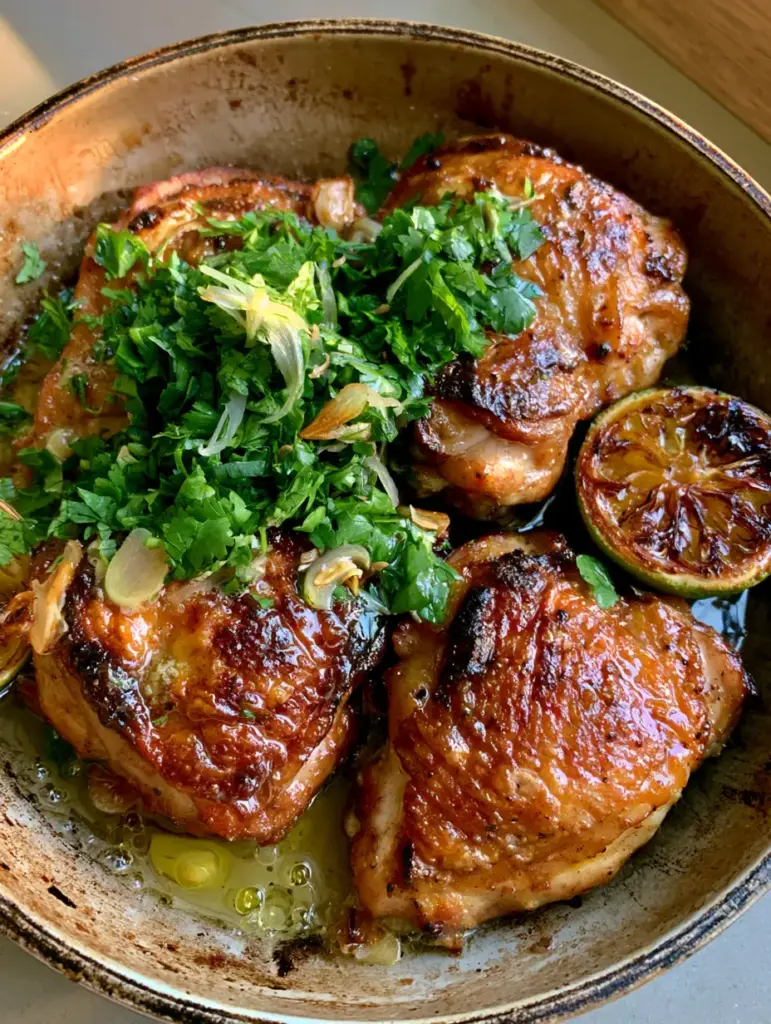
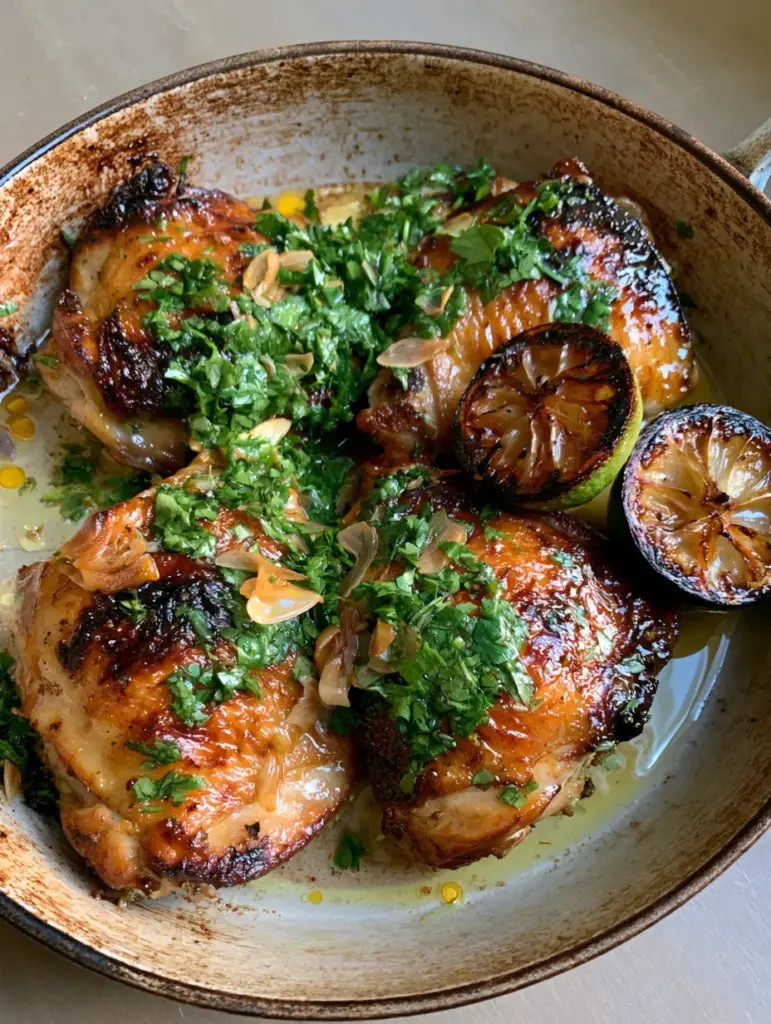
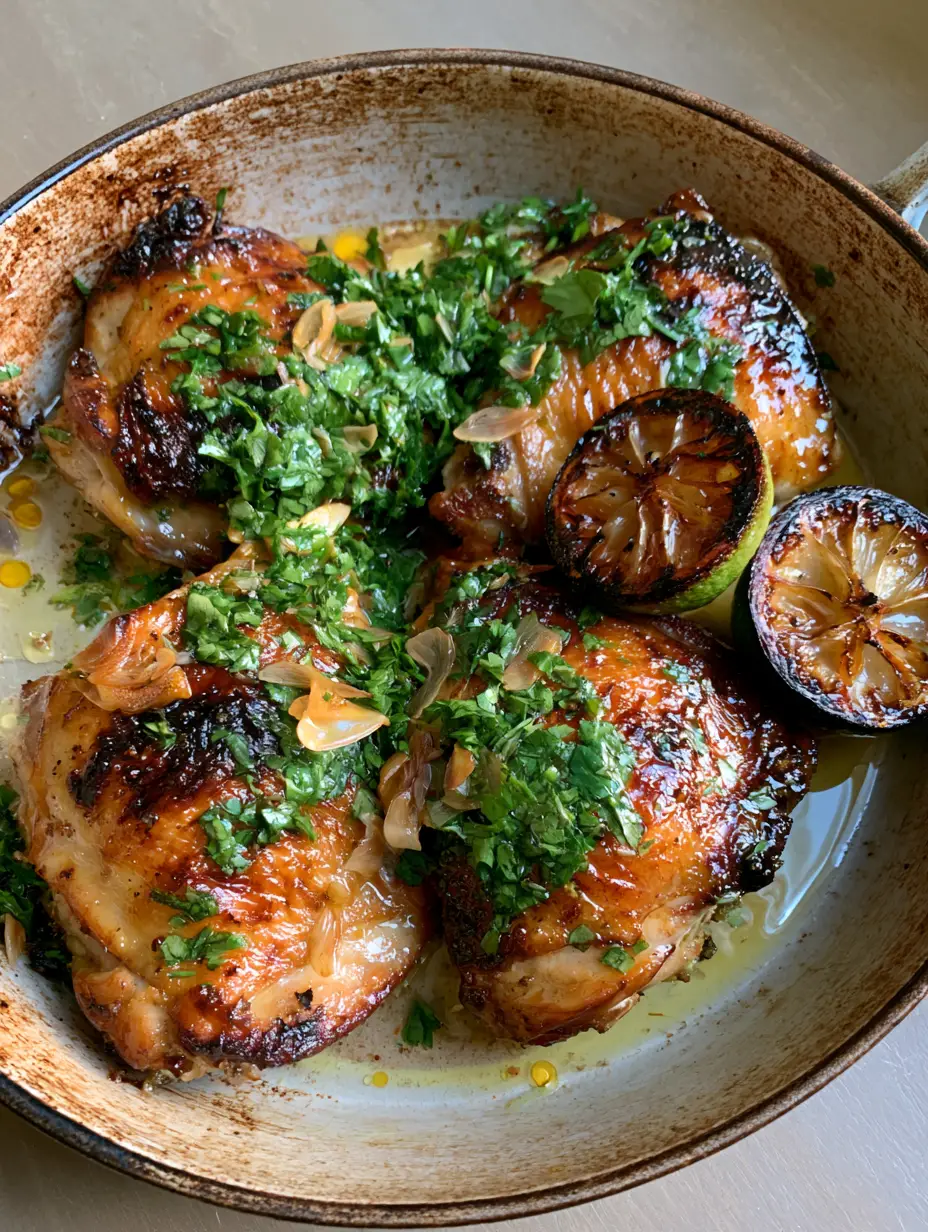
When you look at this dish, you see high-gloss highlights reflecting off a zesty lime-butter glaze. You see the rustic charm of charred lime wheels and the vibrant green of freshly chopped cilantro scattered over translucent slivers of garlic. It is a visual feast that tastes even better than it looks, bringing a restaurant-quality experience to your light-colored wooden dining table in under 30 minutes.
Achieving this specific aesthetic—the caramelized brown centers of the lime and the glistening oil droplets on the meat—requires a few professional techniques. By focusing on moisture control and temperature management, we can ensure your Cilantro Lime Chicken looks exactly like the handheld smartphone photos that dominate the most elite food feeds. Let’s dive into the science of the sear.
Why This Zesty Skillet Chicken Wins Every Single Time
- Shatter-Crisp Skin: Through proper fat rendering and high-heat contact, we achieve a caramelized, golden-brown crust that holds its crunch even under the glaze.
- The “Glisten” Factor: Our lime-butter emulsion creates a translucent, high-shine finish that coats the meat without making the skin soggy.
- Layered Aromatics: We use garlic in two ways—infused into the butter and as translucent slivers—to provide both a mellow base and a sharp, fresh bite.
- Balanced Heat: The inclusion of cracked black pepper and red pepper flakes adds a back-of-the-throat warmth that cuts through the richness of the butter.
The Anatomy of a Perfect Pan-Seared Chicken Skillet
To recreate the exact visual profile of our Cilantro Lime Chicken, you need to understand the role of each ingredient. We aren’t just adding flavors; we are building textures. If you have enjoyed a bold Mexican marinade before, you will recognize the flavor profile, but the technique here is focused on the Maillard reaction.
Bone-In, Skin-On Chicken Thighs: You need 1.5 lbs (680g) of thighs. The bone acts as a heat conductor to keep the meat moist, while the skin provides the necessary fat for a deep, golden-brown sear.
Unsalted Butter: 3 tbsp (42g) is essential for the glaze. Butter contains milk solids that brown beautifully, contributing to those caramelized edges seen in the skillet.
Fresh Limes: You will need 3 large limes. Two will be juiced for the glaze, and one will be sliced into wheels to be charred in the chicken fat for that rustic, smoky look.
Garlic Cloves: 5 cloves, sliced into thin slivers. Unlike minced garlic which can burn and turn bitter, slivers provide that “chef-y” translucent look and a milder, sweeter flavor.
Fresh Cilantro: One large bunch (about 1 cup or 25g). This is not just a garnish; the heavy scatter of bright green provides the essential color contrast against the dark cast iron.
Avocado Oil: 1 tbsp (15ml). Because we are searing at high heat, we need an oil with a high smoke point to prevent the chicken from tasting like burnt carbon.
The Seasoning Trio: 1 tsp (6g) sea salt, 1 tsp (2g) cracked black pepper, and 1/2 tsp (1g) red pepper flakes. The coarse texture of the pepper is visible on the finished dish, adding to its authentic, rustic appeal.
Essential Tools for the Professional Sear
To get the chicken glistening in a clear glaze as described, a 12-inch (30cm) cast iron skillet is non-negotiable. The thermal mass of cast iron ensures that when the cold meat hits the pan, the temperature doesn’t drop, allowing for immediate crust formation. You will also need a sharp chef’s knife for those translucent garlic slivers and a pair of stainless steel tongs for precise flipping.
If you are a fan of poultry techniques, you might have seen similar heat management in a traditional tandoori preparation, but here, the moisture control is even more critical because we want that skin to stay dry until the very last moment of glazing.
Mastering the Sear: Step-by-Step Instructions
Phase 1: The Secret to Crispy Skin
Pat the chicken thighs extremely dry with paper towels. Any moisture on the surface will create steam, preventing the skin from becoming crispy. Season both sides generously with salt and the cracked black pepper.
Heat your cast iron skillet over medium-high heat until the oil is shimmering but not smoking. Place the chicken thighs skin-side down. Do not crowd the pan; if necessary, cook in batches to maintain the heat.
Phase 2: The Golden-Brown Caramelization
Leave the chicken alone for 6-8 minutes. Resistance is key—don’t lift them to check. You are looking for a deep, golden-brown crust to form. The visual cue is a dark ring forming around the edges of the meat in contact with the pan.
Flip the chicken. The skin should look like the Midjourney prompt: caramelized, crispy, and rigid. Lower the heat to medium and cook for another 5-7 minutes until the internal temperature reaches 165°F (74°C).
Phase 3: The Charred Lime and Garlic Infusion
While the chicken finishes, nestle the lime wheels into the rendered chicken fat in the empty spaces of the skillet. Sear them for 2 minutes per side until the centers are caramelized brown and smoky. Remove the chicken and limes to a plate, leaving the fat in the pan.
Add the butter to the hot skillet. Once it foams, toss in the garlic slivers and red pepper flakes. Sauté for just 60 seconds until the garlic is translucent and fragrant but not brown. Pour in the fresh lime juice, whisking to scrape up the browned bits (fond) from the bottom of the pan.
Phase 4: The Final Glossy Glaze
Return the chicken to the skillet, skin-side up. Spoon the shimmering lime-butter glaze over the meat. The oil droplets will bead up on the surface, creating that high-gloss highlight. Scatter the fresh cilantro heavily over the top and serve immediately in the skillet for that authentic, rustic look.
Expert Tips for a Food-Blog-Ready Finish
- Cold Butter Finish: For the glossiest glaze, use cold butter at the end. The emulsion stays thicker and reflects light better than melted, separated fat.
- Garlic Timing: If your garlic turns brown, it will look muddy in the photo. Keep it translucent by adding it only when the heat is lowered.
- The Cilantro Scatter: Chop your cilantro just seconds before serving. Once cilantro hits the heat, it wilts and loses its bright green hue within minutes.
- Deglazing Logic: Use a wooden spoon to scrape the skillet. Those tiny brown specks in the glaze are concentrated flavor and provide the “authentic” texture seen in high-quality amateur photography.
Smart Storage and Reheating Strategies
While Cilantro Lime Chicken is best enjoyed fresh from the skillet, leftovers can be stored in an airtight container for up to 3 days. To maintain the crispy skin, avoid the microwave. Instead, reheat in a 350°F (175°C) oven or back in a dry skillet over medium heat until the skin re-crisps.
Freezing is not recommended for this specific recipe, as the lime-butter glaze can break upon thawing, and the cilantro will turn black and slimy. This dish is designed for immediate, high-impact consumption.
Perfect Pairings for Your Skillet Feast
To soak up that incredible lime-butter glaze, serve this chicken over a bed of fragrant seasoned rice or alongside a crisp green salad. If you want to lean into the citrus themes, a side of creamy avocado salad provides a cooling contrast to the red pepper flakes.
For a lighter lunch the next day, slice the cold chicken and tuck it into zesty ranch wraps for a boost of protein and flavor. The versatility of this flavor profile makes it a staple for any enthusiastic home cook’s rotation.
Frequently Asked Questions
Yes, but be careful not to overcook them. Breasts lack the fat and skin of thighs, so they won’t be as crispy and the glaze may not adhere as well. Reduce the cooking time by 2-3 minutes per side.
The key is moisture control. Pat the chicken thighs extremely dry with paper towels and don’t crowd the skillet. Let them sear undisturbed in a preheated cast iron pan until they naturally release from the surface.
Yes, this recipe is naturally low-carb and keto-friendly as it uses fresh fats, citrus, and herbs without any added sugars or starches.
A heavy-bottomed stainless steel pan will work, but you may need a bit more oil. Avoid non-stick pans, as they cannot reach the high temperatures required for a professional-grade sear.
Garlic turns bitter if it burns. To prevent this, slice the garlic into slivers rather than mincing it, and add it to the pan only after lowering the heat for the butter glaze step.
The Ultimate Cilantro Lime Chicken Recipe
Cilantro Lime Chicken with Crispy Skin and Zesty Garlic Butter Glaze
Ingredients
Equipment
Method
- Pat the chicken thighs extremely dry with paper towels to ensure a crispy sear. Season both sides with salt and cracked black pepper.
- Heat oil in a cast iron skillet over medium-high. Place chicken skin-side down and sear for 6-8 minutes without moving until a deep golden-brown crust forms.
- Flip the chicken and cook for another 5-7 minutes until the internal temperature reaches 165°F (74°C). Remove chicken and set aside.
- Add lime wheels to the skillet fat. Sear for 2 minutes per side until caramelized. Remove and set aside.
- Lower heat to medium. Add butter, garlic slivers, and red pepper flakes. Sauté for 60 seconds until garlic is translucent. Stir in lime juice.
- Return chicken to the pan. Spoon the glaze over the skin. Top with a heavy scatter of fresh cilantro and the charred lime wheels.
Notes
Use cold butter at the end to create a thicker, glossy glaze that doesn't separate.
Bring the Heat to Your Kitchen
This Cilantro Lime Chicken is proof that you don’t need a professional studio to create stunning, delicious food. By following these forensic culinary steps, you’ve mastered the art of the sear and the science of the glaze. If you loved the crispy texture and bright flavors of this dish, please leave a comment below and let us know how your skillet turned out!
Don’t forget to snap a photo of your masterpiece and share it with us. For more visually stunning and flavor-packed recipes, follow us on Pinterest and save this to your favorite dinner boards!