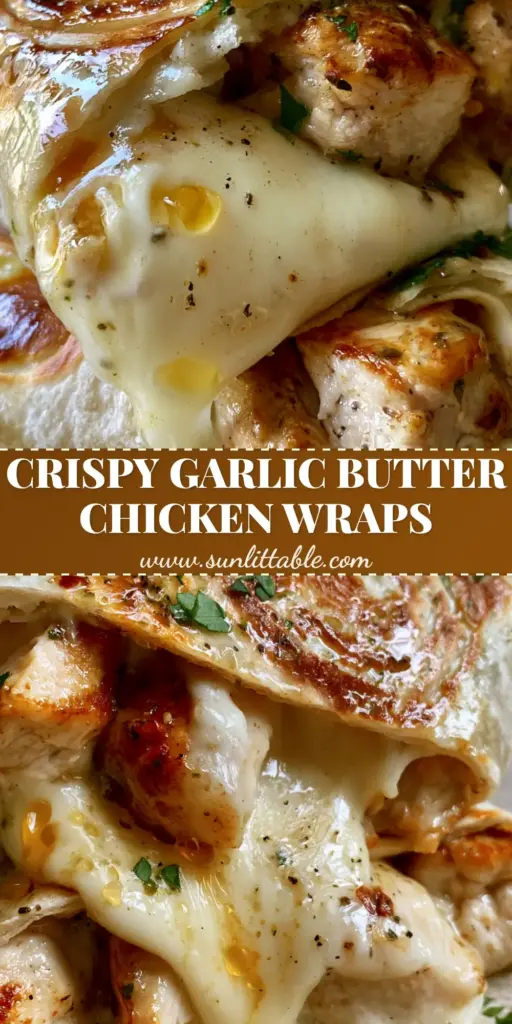
This Cheesy Garlic Chicken Wraps recipe is the answer to your weeknight dinner prayers. Imagine succulent, golden-seared chicken breast enveloped in a decadent, overflowing layer of stretching melted mozzarella and sharp white cheddar cheese. Every bite is a masterclass in texture, featuring a toasted flour tortilla with perfect golden char marks and a glistening, wet sheen of herb-infused garlic butter.
If you are looking for a meal that looks like it stepped out of a high-end food magazine but takes less than 30 minutes to make, you have found it. This recipe is designed to explode on Pinterest because it hits every sensory trigger: the cheese pull, the garlic aroma, and that irresistible golden crunch.
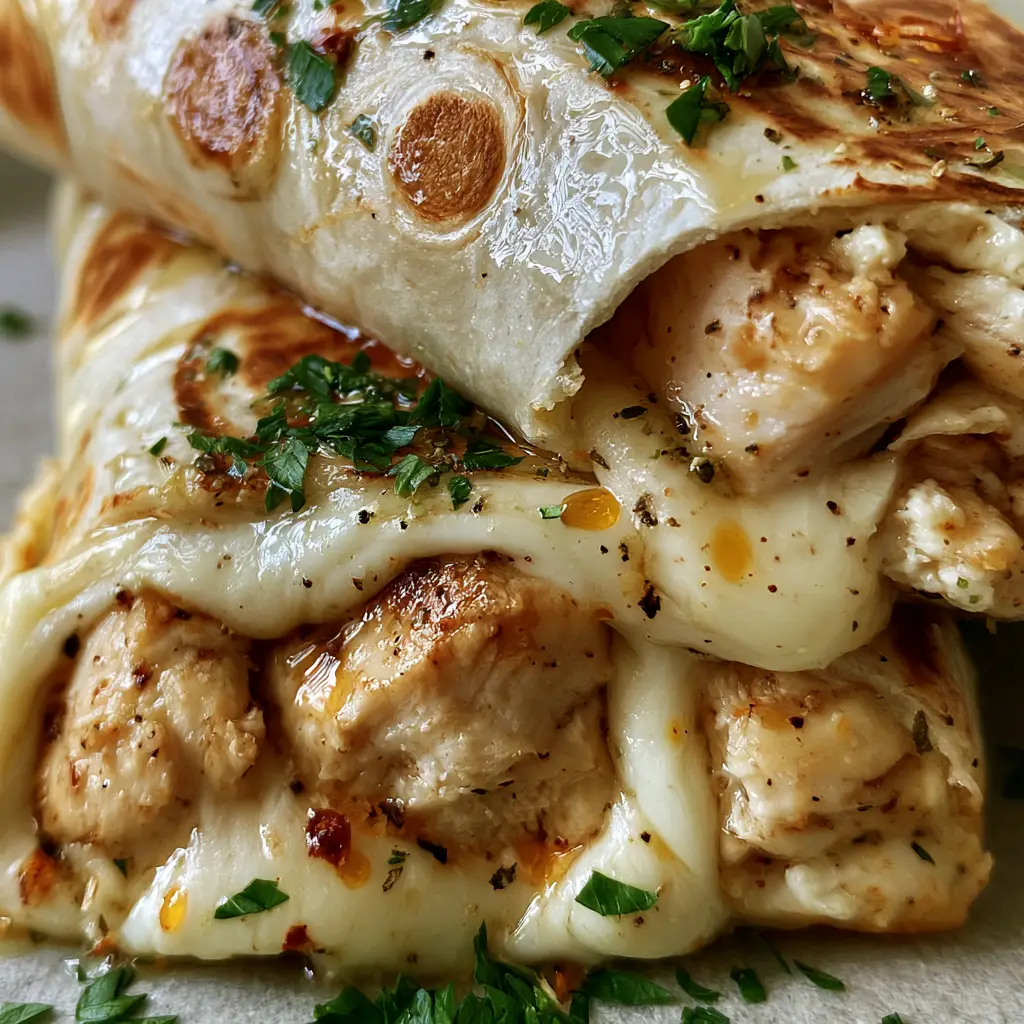
Why This Cheesy Garlic Chicken Wraps recipe Works
- The Double Cheese Strategy: We use a combination of mozzarella for the iconic stretch and sharp white cheddar for a sophisticated, tangy flavor profile.
- The Garlic Butter Finish: Brushing the tortillas with herb-infused garlic butter after toasting creates a professional, glossy sheen and an extra layer of savory depth.
- Perfectly Seared Protein: By cutting the chicken into bite-sized chunks before searing, we maximize the surface area for that delicious golden-brown crust.
- Textural Contrast: The crunch of the charred tortilla against the soft, gooey interior makes every mouthful satisfying.
If you love this flavor profile, you might also want to try my Creamy Garlic Parmesan Chicken Recipe for a saucier version of these flavors.
Essential Ingredients for Success
Every ingredient in this Cheesy Garlic Chicken Wraps recipe serves a specific culinary purpose. Do not skip the seasoning; it is what separates a bland wrap from a restaurant-quality meal.
The Protein and Tortilla Base
Chicken Breast: You will need 1.5 lbs (680g) of boneless, skinless chicken breast. Ensure they are patted dry before seasoning to get the best sear. You could also use creamy garlic chicken thighs if you prefer dark meat.
Flour Tortillas: Use large, 10-inch (25cm) flour tortillas. They need to be fresh and pliable to prevent cracking during the rolling process. The flour surface is essential for absorbing the garlic butter sheen.
The Melting Cheese Blend
Mozzarella Cheese: 1.5 cups (170g) of shredded low-moisture mozzarella. This provides the “vertical height” in our photos and the legendary stretch.
Sharp White Cheddar: 1 cup (115g) of shredded sharp white cheddar. This adds the necessary bite and complexity to the flavor profile, perfectly complementing the garlic.
The Garlic Herb Glaze
Salted Butter: 4 tablespoons (56g) of high-quality salted butter. This will be melted and infused with aromatics to brush over the finished wraps.
Fresh Garlic: 3 cloves, finely minced. We sauté this briefly in the butter to remove the raw bite while keeping the aromatic oils intact.
Fresh Parsley and Spices: A generous handful of finely chopped flat-leaf parsley, cracked black pepper, and red chili flakes. The chili flakes provide a tiny pop of color and a subtle back-end heat.
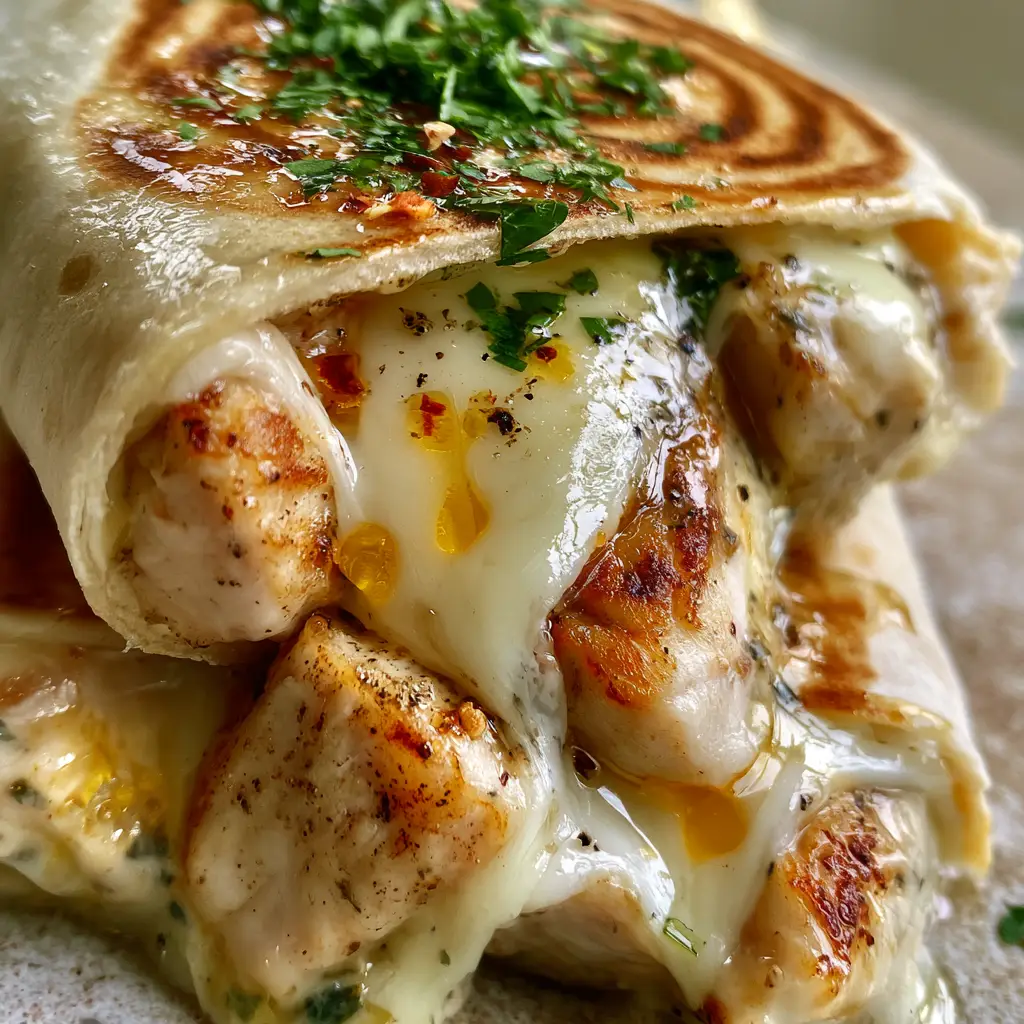
How to Make the Best Cheesy Garlic Chicken Wraps
Follow these steps closely to achieve the forensic visual accuracy seen in our photos. The secret is in the layering and the final sear.
Step 1: Searing the Succulent Chicken
Cut your chicken into 1-inch (2.5cm) chunks. Season generously with salt and pepper. Heat a large skillet over medium-high heat with 1 tablespoon (15ml) of olive oil. Sear the chicken in batches to avoid crowding the pan.
You are looking for golden-brown circular sear marks on the meat. Once cooked through (165°F / 74°C), remove from the heat and set aside. For a different flavor profile, you could apply the seasoning used in my garlic herb chicken breasts.
Step 2: The Art of Assembly
Lay a tortilla flat. In the center, place a generous layer of the mozzarella and white cheddar blend. Top with the seared chicken chunks, then add another layer of cheese. This “cheese sandwich” technique ensures the chicken is perfectly enveloped and held in place.
Fold the sides of the tortilla inward, then roll tightly from the bottom up. Ensure the seam is tucked tightly to prevent cheese leakage during the toasting phase.
Step 3: Toasting for Texture
Wipe out your skillet and return it to medium heat. Place the wraps seam-side down first. Use a heavy press or another skillet to lightly weigh them down. This creates those extreme macro-friendly char marks.
Toast for 2-3 minutes per side until the tortilla is crisp and the cheese inside has reached a thick, stretching consistency. If you enjoy this crispy texture, check out my sweet chili crispy chicken wraps.
Step 4: The Garlic Butter Finish
In a small bowl, combine the melted butter, minced garlic, and half of the parsley. While the wraps are still hot, use a pastry brush to apply a glistening, wet sheen of the mixture over the entire exterior of the wrap.
Garnish with the remaining parsley, extra cracked black pepper, and a few tiny red chili flakes for that perfect Pinterest-ready finish.
Expert Tips for the Perfect Pinterest Wrap
- Room Temperature Cheese: Use cheese that has sat out for 15 minutes. It melts much faster and more evenly than cold cheese straight from the fridge.
- The Diagonal Cut: Always slice your wraps diagonally. This exposes the succulent seared chicken and the melting cheese layers, creating a much more appetizing visual for social media.
- Don’t Overstuff: It is tempting to add more chicken, but overstuffing leads to torn tortillas. Stick to the measurements for a clean, professional look.
- The Heat Control: If your tortilla is browning too fast but the cheese isn’t melting, lower your heat and cover the pan with a lid for 60 seconds.
For more wrap inspiration, you might enjoy my Mediterranean Chicken Wraps which offer a fresher, veggie-forward alternative.
Storage, Reheating, and Meal Prep
While these are best served fresh for the maximum garlic butter sheen, you can store them in an airtight container in the refrigerator for up to 3 days.
To Reheat: Do not use a microwave, as it will make the tortilla soggy. Instead, use an air fryer at 350°F (175°C) for 4-5 minutes, or a dry skillet over medium heat until the cheese is bubbling again.
Freezing: You can freeze these wraps before the toasting and buttering stage. Wrap them tightly in foil and plastic wrap. Thaw overnight in the fridge before toasting as directed in the recipe.
What to Serve With Cheesy Garlic Chicken Wraps
These wraps are incredibly rich, so they pair best with something bright or crunchy. A simple arugula salad with a lemon vinaigrette cuts through the fat of the mozzarella and cheddar perfectly.
Alternatively, serve them with sweet potato fries or a side of cheesy chicken and broccoli orzo for a truly indulgent feast.
Frequently Asked Questions
Yes! Assemble the wraps and air fry at 375°F (190°C) for 6-8 minutes until crispy. Brush with the garlic butter immediately after removing them from the air fryer for the best results.
Absolutely. Just toss the shredded rotisserie chicken in a hot skillet with a little garlic butter for 2 minutes to warm it through and add flavor before assembling the wraps.
Ensure you leave a 2-inch border of tortilla when filling and roll very tightly. Placing the wrap seam-side down in a hot skillet immediately seals the tortilla shut.
Low-moisture mozzarella is the king of the cheese stretch. Combining it with a harder cheese like sharp white cheddar adds flavor without sacrificing that iconic visual pull.
The Complete Cheesy Garlic Chicken Wraps recipe
Cheesy Garlic Chicken Wraps recipe: The Ultimate Golden-Brown Melt
Ingredients
Equipment
Method
- Season chicken chunks with salt and pepper. In a skillet over medium-high heat, sear chicken in olive oil until golden-brown and cooked to 165°F (74°C). Remove and set aside.
- Layer mozzarella, cheddar, seared chicken, and more cheese in the center of each tortilla. Roll tightly, tucking in the sides.
- Place wraps seam-side down in a clean skillet. Toast over medium heat for 2-3 minutes per side until golden char marks appear and cheese is melted.
- Mix melted butter, minced garlic, and parsley. Brush generously over the toasted wraps. Garnish with chili flakes and extra parsley.
Notes
Always slice diagonally to showcase the succulent chicken and melted layers.
Share the Love!
Did you make this Cheesy Garlic Chicken Wraps recipe? We want to see your results! Nothing makes us happier than seeing your cheese pull photos and golden-brown tortillas. Please save this recipe to your favorite Pinterest board so you never lose it!
Don’t forget to follow @sunlit_table for more high-flavor, high-visual recipes. Leave a 5-star rating in the comments below if you loved it, and tell us: what is your favorite cheese to add to a chicken wrap?