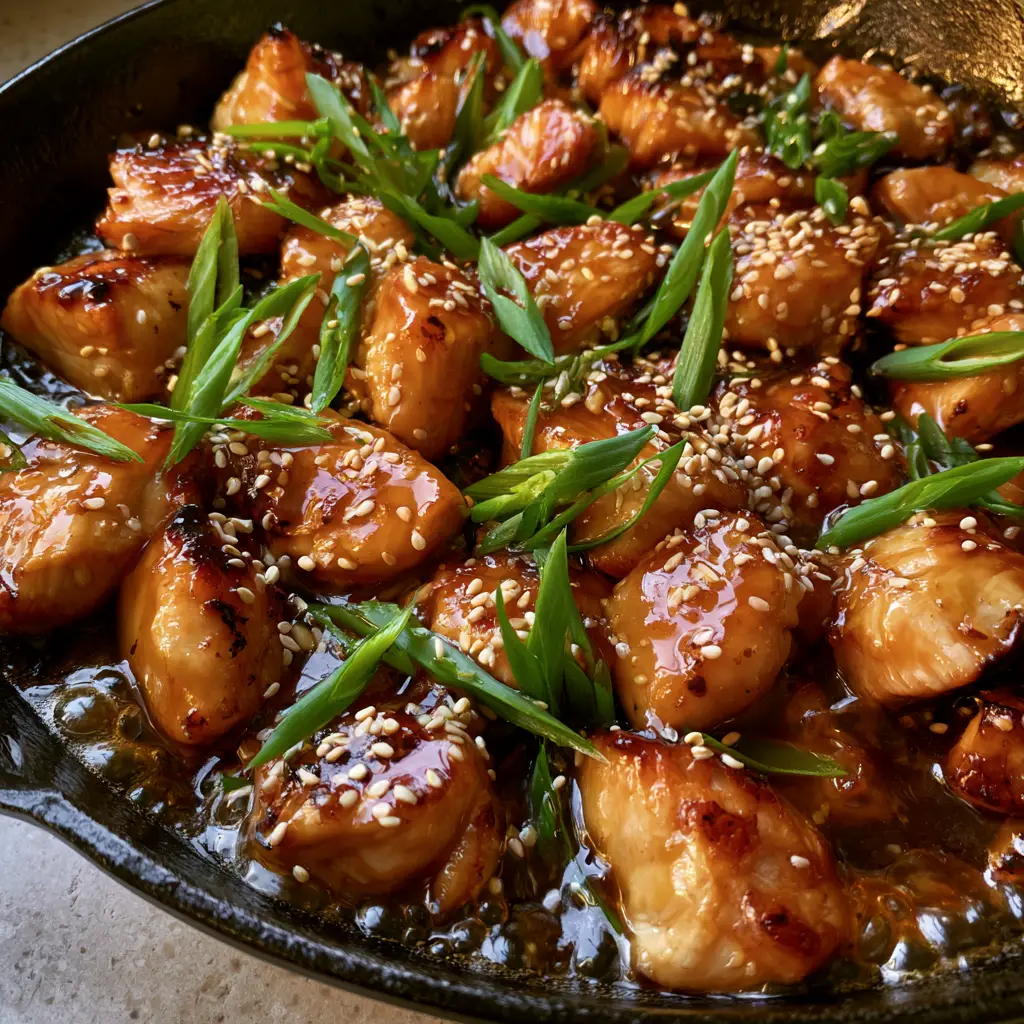
This Honey Glazed Garlic Chicken is the recipe your weeknight rotation has been missing. Imagine tender, juicy chicken chunks with caramelized golden-brown edges, all tossed in a thick, translucent amber glaze that shimmers under the kitchen lights. If you are looking for a meal that looks like a professional food photograph but takes less than 30 minutes to prepare, this seasoned black cast iron skillet masterpiece is your answer.
The beauty of Honey Glazed Garlic Chicken lies in the contrast of textures. The sticky, sweet, and savory sauce clings to every seared edge, while the freshly sliced bright green scallions and toasted white sesame seeds provide a crunch that cuts through the richness. Whether you are a fan of Chinese-style honey garlic chicken or you just want a reliable skillet meal, this recipe delivers restaurant-quality results at home.
Why You Will Crave This Sticky Honey Garlic Chicken
- Visual Perfection: The translucent amber-colored honey garlic sauce creates a glossy sheen that is perfectly Pinterest-worthy.
- Textural Contrast: We achieve seared, golden-brown edges on the chicken chunks while keeping the centers incredibly tender.
- Flavor Balance: The sweetness of the honey is balanced by pungent garlic, savory soy sauce, and a hint of heat from crushed red pepper flakes.
- One-Pan Ease: Everything happens in one seasoned black cast iron skillet, making cleanup a breeze.
The Secret Ingredients for Success
To make the best Honey Glazed Garlic Chicken, every ingredient serves a specific culinary purpose. We aren’t just adding flavor; we are building a structural sauce that coats rather than runs.
The Protein Foundation
- 1.5 lbs (680g) Chicken Breast or Thighs: Cut into 1-inch chunks. Thighs offer more fat and moisture, while breasts provide a leaner, classic look.
- 2 tbsp (30ml) Neutral Oil: High smoke point oil (like avocado or canola) is essential to achieve those seared golden-brown edges without burning the meat.
- 1/2 tsp (3g) Kosher Salt & Black Pepper: Critical for seasoning the meat directly before it hits the pan to ensure deep flavor.
The Shimmering Amber Glaze
- 1/3 cup (115g) Raw Honey: This provides the base for our translucent amber honey garlic glaze and is responsible for the sticky texture.
- 4-5 Cloves Garlic: Finely minced. Garlic is the aromatic backbone of this dish; do not use the jarred kind if you want maximum impact.
- 2 tbsp (30ml) Low-Sodium Soy Sauce: Adds the umami depth and that characteristic amber hue to the sauce.
- 1 tbsp (15ml) Apple Cider Vinegar: The secret acidity that cuts through the honey, preventing the dish from being cloyingly sweet.
The Finishing Garnishes
- 2 tbsp (12g) Bright Green Scallions: Sliced on a sharp bias for a professional, restaurant-style presentation.
- 1 tsp (3g) Toasted White Sesame Seeds: Adds a nutty aroma and a visually striking contrast against the dark glaze.
- 1/2 tsp (1g) Crushed Red Pepper Flakes: Just enough heat to wake up the palate.
How to Make Perfectly Seared Honey Glazed Garlic Chicken
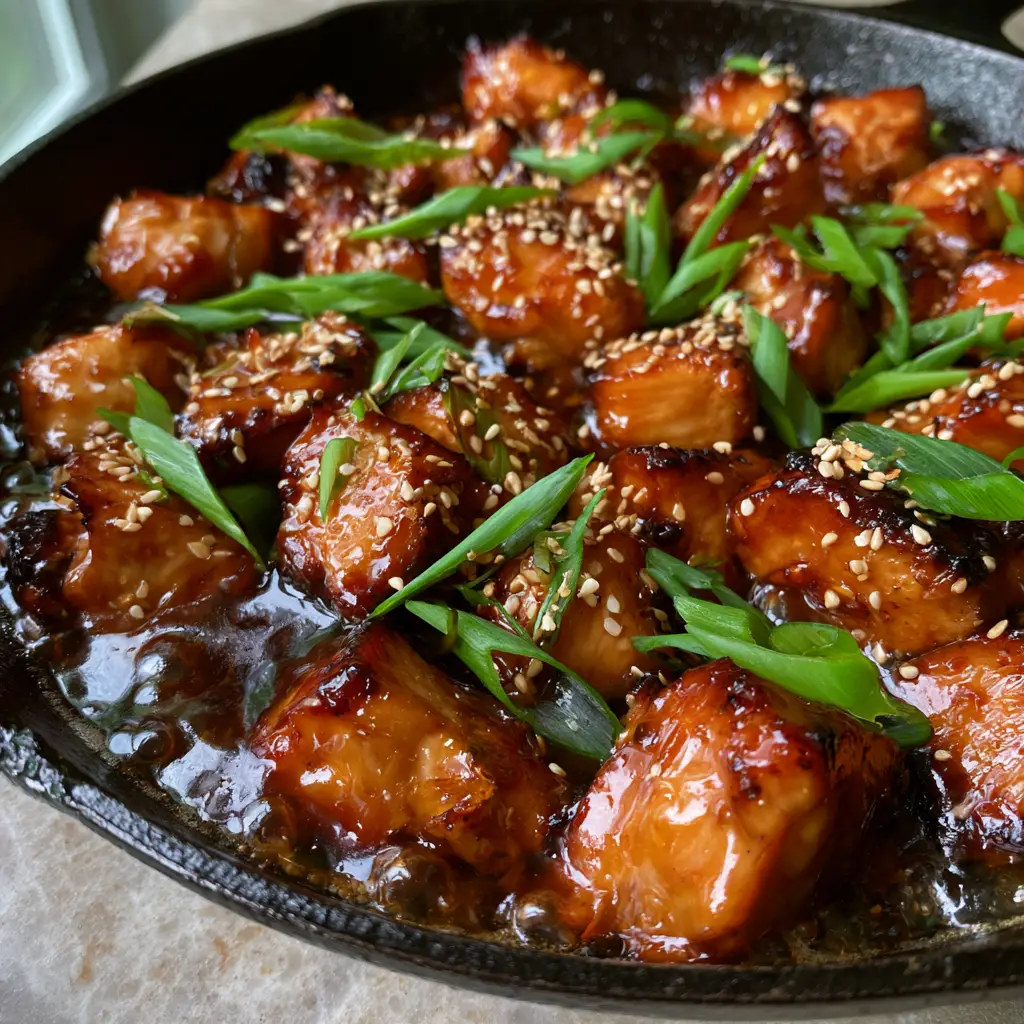
Following these steps ensures your Honey Glazed Garlic Chicken looks exactly like our Visual Recipe Blueprint. Pay close attention to the heat of your skillet!
Step 1: The High-Heat Sear
Pat your chicken chunks completely dry with paper towels. This is the only way to get seared, caramelized golden-brown edges. Season generously with salt and pepper. Heat your black cast iron skillet over medium-high heat until the oil is shimmering. Add the chicken in a single layer, ensuring you don’t crowd the pan. Let them sit undisturbed for 3-4 minutes to develop a deep crust.
If you enjoy this searing technique, you might also love our garlic honey crispy chicken for a more breaded variation.
Step 2: Aromatics and Deglazing
Once the chicken is golden, flip the pieces. Push them to the edges of the skillet and add your minced garlic to the center. Sauté for just 30 seconds until fragrant but not browned. Pour in the honey, soy sauce, and vinegar. The liquid will immediately begin to bubble at the edges of the skillet.
Step 3: Reducing the Amber Glaze
Toss the chicken to coat every piece in the liquid. Lower the heat to medium. As the honey heats, it will transform into a thick, shimmering, translucent amber-colored sauce. Continue to simmer for 2-3 minutes until the sauce reduces and clings tightly to the chicken chunks. You are looking for a “syrupy” consistency that leaves a trail when you move a spoon through it.
Expert Tips for the Best Results
- The Skillet Matters: Using a seasoned black cast iron skillet is non-negotiable for the best heat retention and browning. It creates a natural non-stick surface that caramelizes the honey beautifully.
- Don’t Overcook: Chicken chunks cook fast! Once they reach an internal temp of 165°F (74°C), remove them from the heat. The residual heat in the skillet will continue to thicken the glaze.
- Bias-Cut Scallions: Cutting your scallions at a 45-degree angle (a bias cut) exposes more surface area, making them look vibrant and professional.
- Toast the Seeds: If your sesame seeds aren’t pre-toasted, toss them in a dry pan for 60 seconds until fragrant. This tiny step doubles the flavor.
Storage, Reheating & Freezing
To Store: Place leftovers in an airtight container in the refrigerator for up to 4 days. The sauce will thicken significantly when cold.
To Reheat: We recommend reheating in a small skillet over low heat with a splash of water (1 tsp) to loosen the honey garlic glaze. Avoid the microwave if possible to maintain the chicken’s texture.
To Freeze: This dish freezes well for up to 2 months. Thaw overnight in the fridge before reheating. For a similar meal prep option, check out our honey garlic chicken and sweet potato bowls.
What to Serve With Honey Glazed Garlic Chicken
This dish is incredibly versatile. For a classic feel, serve it over a bed of fluffy white jasmine rice to soak up the thick amber glaze. If you want a lower-carb option, cauliflower rice or sautéed bok choy works perfectly. If you are in the mood for a fuller spread, try pairing it with our chicken with garlic sauce and some steamed broccoli.
Frequently Asked Questions
Absolutely. It stays delicious for up to 4 days in the fridge. We recommend adding a tiny splash of water when reheating to bring the glossy sauce back to life.
Yes! Chicken thighs are excellent for this recipe as they contain more fat, which helps them stay juicy and develop a rich flavor when paired with the honey garlic sauce.
The key is the honey-to-liquid ratio and heat. By simmering the sauce for 2-3 minutes, the water evaporates, leaving behind a thick, amber-colored glaze that shimmers.
The recipe includes a small amount of red pepper flakes for balance, providing a mild warmth. You can omit them for a kid-friendly version or double them for an extra kick.
Always add the garlic after the chicken is seared. Sauté it for only 30 seconds before adding the liquid ingredients to ensure it flavors the oil without becoming bitter.
The Complete Recipe: Honey Glazed Garlic Chicken
Ready to make this Pinterest-viral dinner? Follow the recipe card below for exact measurements and timing.
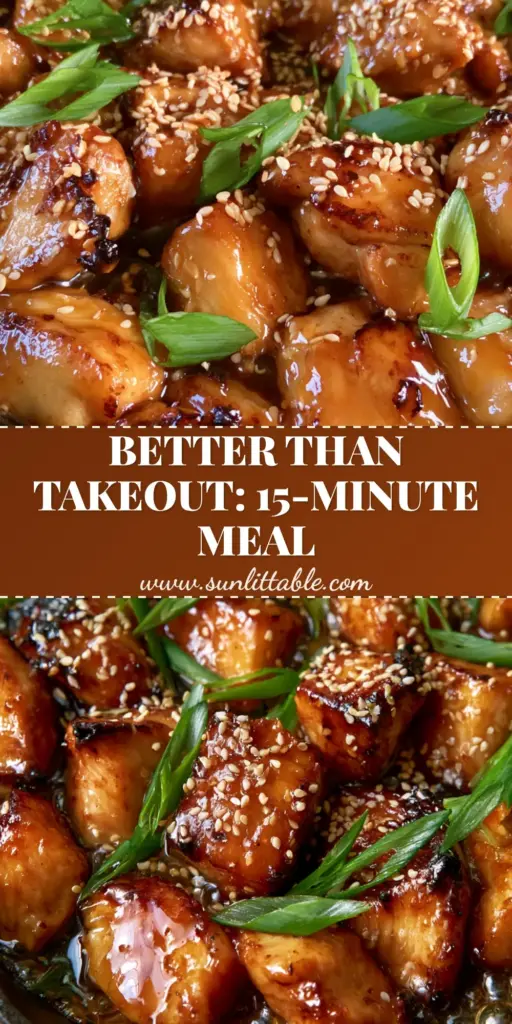
Honey Glazed Garlic Chicken: The Ultimate 20-Minute Skillet Dinner
Ingredients
Equipment
Method
- Pat chicken dry and season with salt and pepper. Heat oil in the cast iron skillet over medium-high heat.
- Add chicken in a single layer. Cook for 3-4 minutes undisturbed until caramelized golden-brown edges form.
- Add garlic to the center of the pan and sauté for 30 seconds until fragrant.
- Pour in honey, soy sauce, and vinegar. Toss chicken to coat and simmer for 2-3 minutes until sauce is a thick, translucent amber.
- Garnish with bright green scallions, toasted sesame seeds, and red pepper flakes.
Notes
Pat the chicken very dry to prevent steaming instead of searing.
Save This Recipe for Later!
Did you love this Honey Glazed Garlic Chicken? Make sure to save this pin to your “Easy Weeknight Dinners” board on Pinterest! Following @sunlit_table helps us bring you more high-protein, visually stunning recipes every week. If you made this dish, please snap a photo of your cast iron skillet and share it in the comments below, and don’t forget to leave a 5-star rating!